AI Tools for Motion Designers: Storyboard to Sequence.
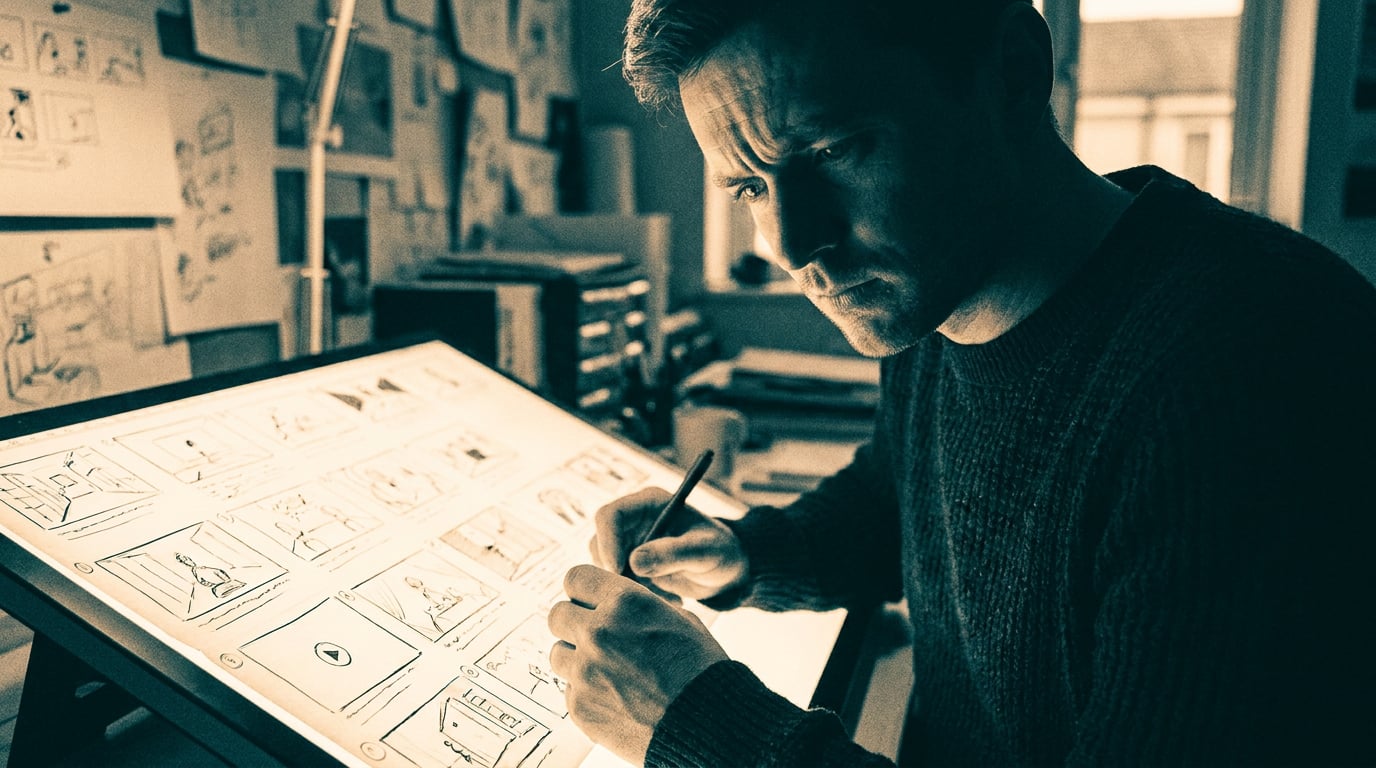
Motion designers no longer need six apps to go from concept to final render. Here's a real pipeline from board to broadcast-ready sequence.
Why the motion design pipeline breaks down between tools
The traditional motion pipeline looks something like this: reference boards in Figma or Miro, an animatic cut together in After Effects or Premiere, AI-generated clips pulled from whichever video model is fashionable that quarter, and a final edit assembled in an NLE. Each stage lives in a different app, with a different login, a different billing cycle, and a different export format waiting to break something.
This isn't a tool-quality problem. Luma Ray 3.2 is a genuinely strong video model. After Effects is still the industry standard for motion graphics. The problem is the seams between them. Every handoff is a file export, a version mismatch, a colour profile that doesn't survive the round trip, or a layer that gets flattened before anyone notices. A broadcast title sequence that needs eight shots, three rounds of client revisions, and a final captioned cutdown for social means juggling half a dozen subscriptions and re-uploading the same reference deck into each one.
Stensyl's premise is straightforward: keep the project, the references, and the credit pool in one place, and let the model choice happen inside the workflow rather than forcing a re-subscription every time you need a different capability. You don't leave the project to generate a clip, score it, caption it, or export a motion graphics package. You move between surfaces inside the same job.
Pipeline fragmentation isn't about weak tools, it's about weak handoffs. Fixing the seams matters more than swapping the models.
Start in Boards: reference and shot planning on one canvas

Boards merges what used to be two separate surfaces, moodboards and storyboards, into a single fluid canvas. That merger matters more than it sounds. Motion designers have always needed both: the mood reference (colour, texture, type, tone) and the shot sequence (what happens, in what order, for how long). Keeping them apart means constantly flipping between two files to check whether shot four still matches the palette you locked in shot one.
On one canvas, you can pin client references, colour studies, and typography exploration directly beside the frames that will become your shots. Group frames into start and end pairs, and those pairs are ready to feed straight into first and last-frame video generation without leaving the project.
Take a broadcast title sequence for a streaming platform. Eight shots, each with its own mood reference pinned alongside it: a lighting study for shot two, a type treatment for the closing logo card, a colour grade reference borrowed from the client's existing brand work. Rather than boarding this out in one app and building the animatic in another, the whole sequence sits on one canvas, ready to generate from.
A shared canvas for mood and sequence means the client-approved palette is never more than a scroll away from the shot you're generating.
From board to motion: generating the sequence
Once shots are grouped into start and end frame pairs, Luma Ray 3.2 takes those keyframes directly from Boards. Ray 3.2 supports genuine first and last-frame control: feed it a start image, an end image, or both, and it generates 5 or 10-second clips with proper interpolation between the two anchors, including seamless looping where that's the goal. That's a meaningfully different workflow to prompting a clip from scratch and hoping the motion lands where you need it.
Not every shot needs a final-fidelity render on the first pass. Luma Ray 2 Flash is the faster, cheaper option for testing timing and pacing: run a quick draft to check whether the transition between two keyframes reads correctly before committing credits to the full Ray 3.2 render. Think of it as the animatic pass versus the final render, a distinction every motion designer already understands intuitively.
For sequences with more than a couple of shots, Canvas's Assemble Film node batches multiple shots into one orchestrated sequence, rather than generating each clip individually and stitching them together by hand afterwards. Consider a product launch teaser where each shot's end frame becomes the next shot's start frame: the same continuity trick used in match cuts, except here it's driving the generation itself, so transitions between shots feel deliberate rather than assembled after the fact.
| Stage | Model | Purpose |
|---|---|---|
| Timing draft | Ray 2 Flash | Fast, low-cost pass to check pacing before committing to a final render |
| Final shot | Ray 3.2 | High-fidelity render with first/last-frame keyframe control, 5 or 10 seconds |
| Multi-shot sequence | Canvas Assemble Film node | Batches and orchestrates several shots into one continuous sequence |
Using each shot's end frame as the next shot's start frame turns keyframe control into a continuity tool, not just a generation setting.
Building out full motion graphics in the Motion studio

Generated video is rarely the finished product on its own. A Ray 3.2 clip gives you a strong photorealistic or cinematic plate, but it doesn't give you kinetic type, lower thirds, or an animated logo sting. That's the layer that turns a generated background into a broadcast-ready package, and it's what Motion is built for: a Remotion-based studio designed for exportable motion graphics, not single clips.
Use Motion for the connective tissue between generated shots: title cards that bridge two scenes, a lower third introducing a speaker, an animated logo sting that closes the sequence. Pair a generated background from Video or Film with Motion's structured graphics layer, and you get the polished, broadcast-grade look that raw generated footage alone rarely delivers.
An exhibition design studio building a venue flythrough is a clean example. The flythrough itself, generated as a background plate, sets the mood and the camera move through the space. The sponsor credit roll that needs to sit over it, precisely timed, on-brand, legible against a moving background, is exactly the kind of structured motion graphics work Motion is built to handle, rather than trying to bake type directly into a generation prompt and hoping it renders legibly.
Generated footage gives you the plate. Motion graphics give you the polish. Treat them as two layers of the same sequence, not two separate jobs.
Sound, voice, and final assembly
A sequence isn't finished until it has sound. Audio covers voice, music, and sound effects in the same project, so scoring a generated sequence or recording a narration pass doesn't mean opening a separate app and re-uploading picture reference.
Once picture and sound are locked, the Editing studio's Timeline adds captions via Whisper speech-to-text, including a karaoke-style burn-in for social cuts of the sequence, useful when the same broadcast piece needs to live on a vertical feed as well as a full-screen delivery. OMNI lets you describe an edit in plain language, Gemini Omni Flash applies it directly to the clip, so a note like "trim the second shot by half a second and push the title card later" doesn't require manually scrubbing the timeline.
For teams that need a shorter cut from a longer animatic or full sequence, Smart Highlights loads a video up to an hour long and picks the strongest moments automatically, cutting them into short clips or a single reel. Twelve optional polish presets range from a clean caption overlay to full restyles, useful for a marketing team that needs a 15-second teaser pulled from a two-minute broadcast cut without re-editing from scratch.
Captioning, scoring, and shortform cutdowns happening inside the same project means the broadcast cut and the social cut share one source of truth.
Where Ray fits in the workflow

Ray sits inside the project as a creative director, not a separate chat window you open when you're stuck. It helps choose between Ray 3.2 and Ray 2 Flash based on what the shot actually needs: a quick pacing test doesn't warrant a full-fidelity render, but a final hero shot for a client deliverable does. Ray can talk through that trade-off before any credits are spent, which matters when a sequence has a dozen shots and every wasted render adds up.
Ray's reasoning, backed by Claude Sonnet 5 and Opus 4.8, is also useful for structural problems that have nothing to do with model choice: pacing feels off in the middle third of a sequence, a transition doesn't read as intentional, the shot order needs rethinking before another render gets triggered. Talking that through inside the project, with full context on what's already been generated, is a different experience to pasting a timeline description into an unrelated chat tool.
That's the loop Stensyl is built around: one project, one credit pool, from the first reference pinned on a board to the final captioned export. Boards holds the references and the shot plan. Ray 3.2 and Ray 2 Flash generate the sequence. Motion builds the graphics layer. Audio and Editing finish the sound, captions, and cutdowns. Ray helps navigate the decisions in between. No re-subscribing, no re-uploading the same moodboard into a fourth app.
The practical takeaway: motion design has never lacked good individual tools. It's lacked a workflow that keeps reference, generation, graphics, and finishing in the same place, with the same credits and the same project history. Start the next sequence on one canvas and see how far it gets before you need to leave it.
Keep reading.

Try Stensyl for yourself
Image, video, 3D, chat, and document drafting. Every AI model, one studio. Plans from $11/month.