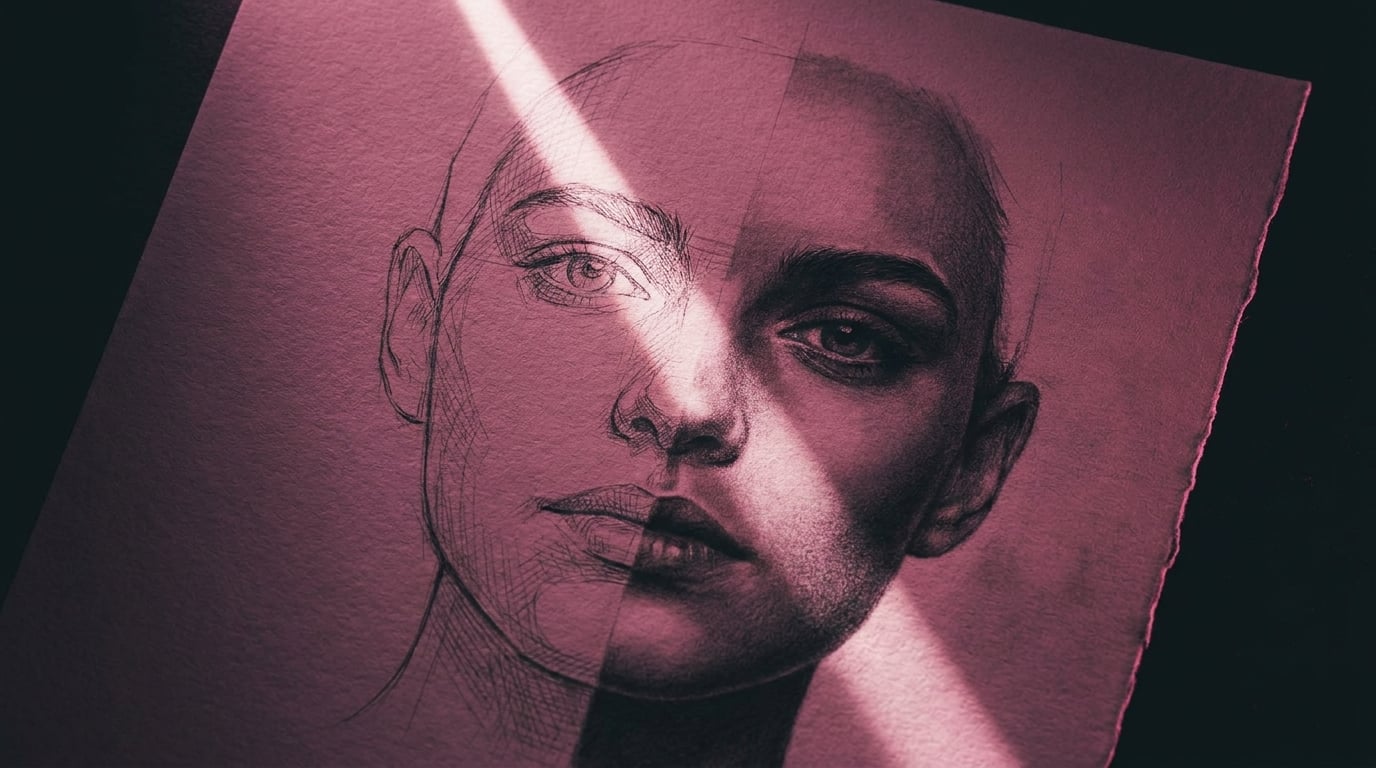
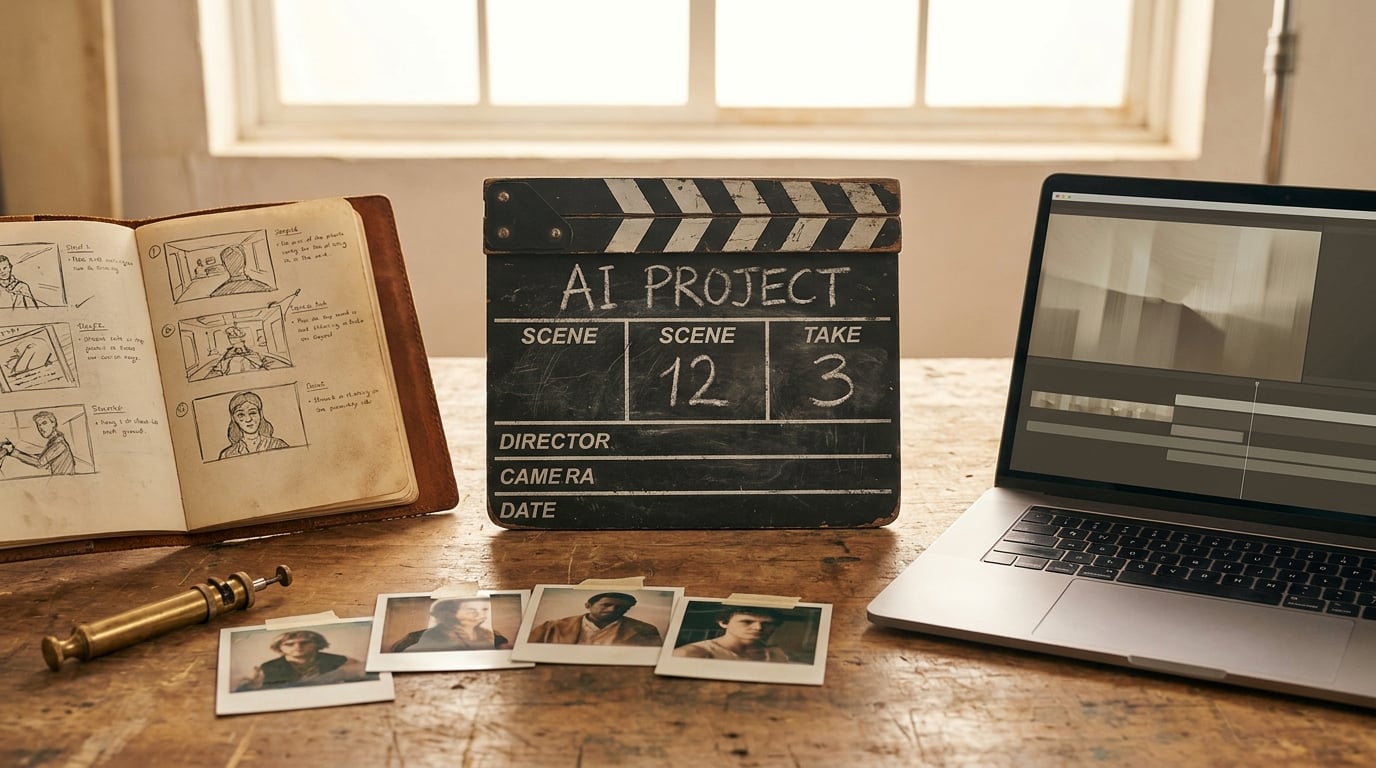
AI Product Visualisation: Concept Sketch to Mockup in Minutes.
How product and industrial designers are using AI visualisation tools to compress days of rendering work into a single session.
Why Product Designers Are Replacing Early-Stage Rendering with AI
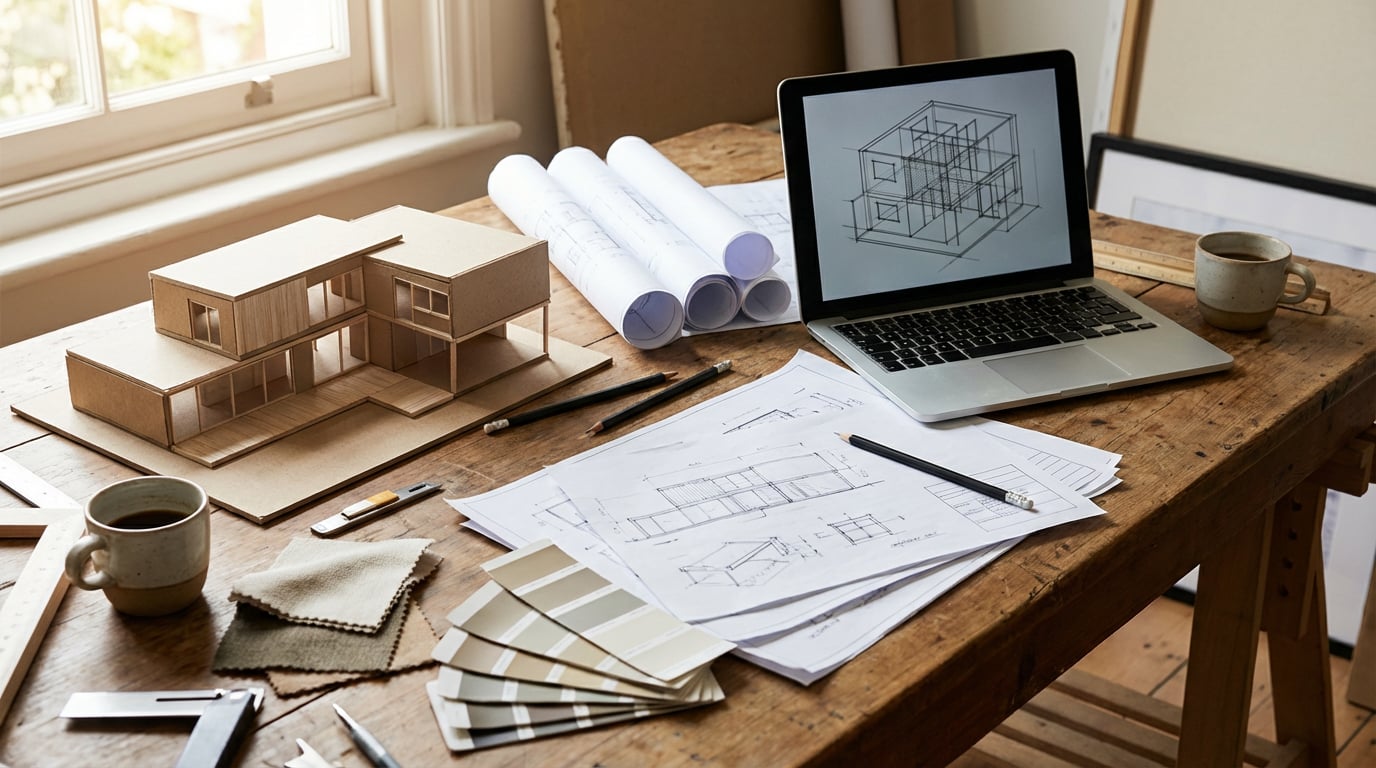
The traditional bottleneck in product design is not the design itself. It is the gap between a concept sketch and something a client or stakeholder can actually respond to. For decades, that gap was filled by CAD renders that took days to produce, cost hundreds in visualiser time, and were frequently scrapped the moment a brief shifted or a client changed their mind.
AI product visualisation tools have compressed that cycle. A concept that would have required a 3D model, lighting rig, and render farm can now exist as a photorealistic image within the hour. That changes not just the speed of the workflow, but the economics of early-stage design exploration.
Where AI Fits in the Product Design Workflow
It is worth being precise about this. AI visualisation is not a replacement for CAD, engineering drawings, or physical prototyping. It sits at the ideation and client communication stage: after the initial sketch, before the formal development phase. Its job is to validate a direction quickly, without committing significant resource to it.
Consider the cost comparison. Commissioning a 3D visualiser for concept-stage product renders typically runs between £300 and £800 per image, depending on complexity and turnaround. A product photography studio for a simple hero shot starts at £500 once you factor in the stylist, photographer, and post-production. Using an AI image tool on a platform like Stensyl, the same output costs a fraction of that, and you can generate ten variants in the time it once took to brief a single render.
Client Expectations Have Shifted
Clients now expect to see concepts presented visually, even at the earliest brief stage. The days of presenting a mood board and a rough sketch as "stage one" are fading fast. Competitors are showing photorealistic explorations at kickoff meetings. If your process cannot match that pace, the perception gap hurts you commercially, even if your design thinking is stronger.
AI does not replace that thinking. It makes it visible faster.
AI visualisation belongs at the ideation stage. Its value is speed and iteration volume, not engineering precision. Use it to validate direction, not to define dimensions.
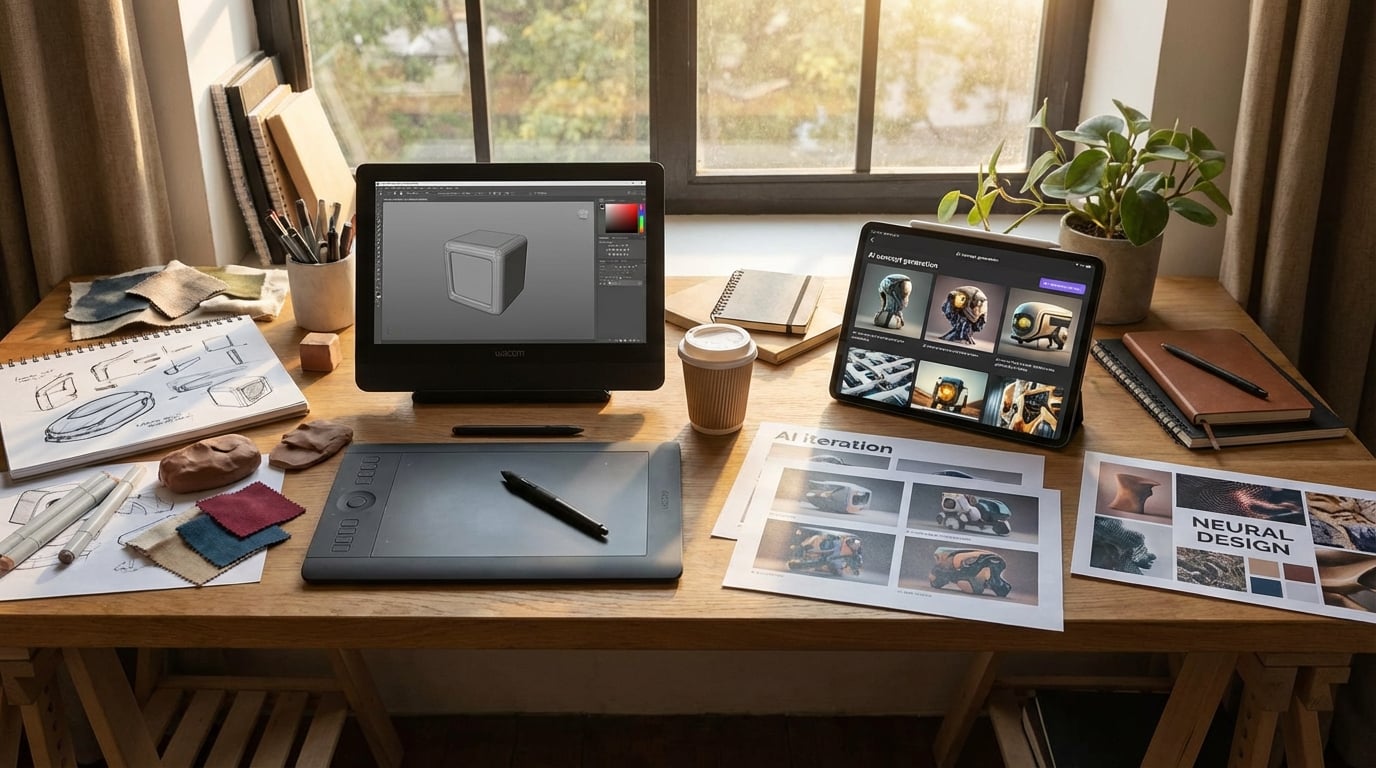
Generating Product Shots Without a Photo Studio
Prompting for studio-quality product photography is a specific skill. The designers who get the best results treat the prompt like a photography brief: they specify the light setup, the surface material, the shadow behaviour, and the camera angle as distinct variables rather than describing a vague aesthetic.
A weak prompt: "a water bottle on a white background, professional photography." A strong prompt: "a brushed aluminium water bottle, three-quarter front view, shot on a white seamless background, single soft-box lighting from upper left, long cast shadow on surface, macro detail on lid thread, commercial product photography." The difference in output quality is significant.
Image-to-Image Workflows from Sketches
Most working product designers do not start from a blank text prompt. They have a sketch, a rough physical prototype, or an existing product reference. Image-to-image generation lets you feed that reference directly and guide the AI toward a photorealistic interpretation of your specific form, rather than a generic version of the category.
Upload a marker sketch of a speaker housing and prompt for a specific material finish and environment. The AI reads the silhouette and proportions from your reference and fills in the surface quality, lighting, and context. The result is not a render of your exact model, but it is close enough to communicate the design direction to a non-technical audience at concept stage.
Background Control and Context
Background choice communicates brand positioning before a word is read. A plain white background reads as clinical and commercial. A warm timber surface suggests craft and premiumness. Polished concrete says industrial and modern. Marble reads as luxury. These are not decorative choices; they are strategic ones, and AI lets you test all of them against the same product form within a single session.
Choosing the Right Model for Hard-Surface Products
Not all image models handle product design equally well. For hard-surface accuracy, where you need clean edges, consistent material behaviour, and precise reflections, Flux models tend to outperform more painterly alternatives. Within Stensyl, you can switch between Flux and other models without leaving the platform, which makes it practical to run a quick comparison rather than committing to one output style before you have seen the alternatives.
The most common mistake product designers make is over-specifying aesthetic style ("cinematic, dramatic, editorial") while under-specifying material properties. Get the material right first. Style is easier to adjust than surface accuracy.
Treat every image prompt like a photography brief. Specify light direction, surface material, camera angle, and shadow behaviour as separate details. Vague prompts produce generic results.
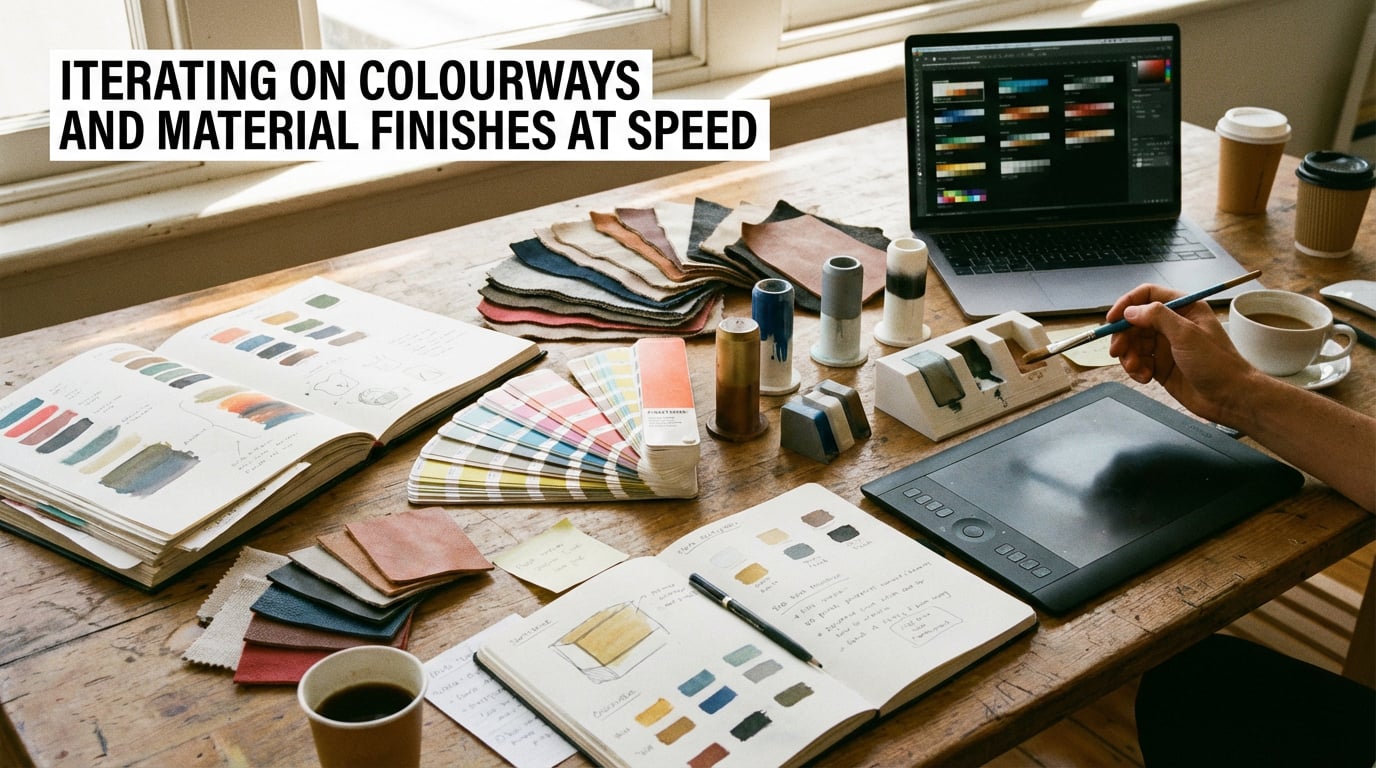
Iterating on Colourways and Material Finishes at Speed
Colourway development is one of the most time-consuming parts of early product design, and one of the areas where AI delivers the clearest return. Adjusting a colourway manually in Photoshop, maintaining accurate material behaviour across the change, and producing a clean presentation-ready image takes 30 to 60 minutes per variant. AI can generate ten variants in that same window.
Prompting for Material Properties
The key to useful material iteration is specificity in how you describe the finish. Saying "matte" is not enough. "Matte soft-touch rubber coating with slight texture visible in raking light" gives the model the information it needs to produce something that reads accurately. The same applies to every finish category:
- Brushed aluminium: specify grain direction, reflection character, and whether you want a warm or cool metal tone
- Gloss ceramic: specify the degree of gloss, the light source for specular highlights, and the surface colour depth
- Soft-touch coating: describe the slight sheen, the way light diffuses at edges, and any micro-texture visible on close inspection
- Translucent polypropylene: describe the light transmission, the internal shadow behaviour, and the edge colour shift
Maintaining Form Consistency Across Variants
The practical challenge with AI colourway iteration is keeping the product form consistent so clients are evaluating colour and finish, not noticing that the shape changed between slide three and slide four. Using the same base image with image-to-image prompting and consistent camera angle locked across the set is the most reliable method. Stensyl's image generation lets you run these variants within a single session, pulling from the same reference image, which reduces drift significantly compared to starting fresh each time.
Hybrid Presentations with Physical Samples
AI-generated material explorations work best when they are combined with physical sample boards rather than used as a standalone replacement for them. Show the AI variants to narrow the field from ten to three, then produce physical samples of only those three. The client has already done the visual editing; you are not paying for samples that get eliminated in the room.
Use AI to reduce physical sampling costs by filtering colourway options visually first. Generate ten, shortlist three, sample only those. The economics of material development change substantially.
Packaging Design and Label Visualisation
Packaging design involves a specific challenge that flat-artwork tools cannot solve cheaply: showing how a design reads as a three-dimensional object in a real context. AI image and 3D generation together address this directly.
From Flat Artwork to 3D Packaging Mockup
The workflow typically runs in two stages. First, generate or refine the flat label and packaging artwork using AI image tools, iterating on typography hierarchy, colour balance, and illustration style. Second, apply that artwork to a 3D packaging form, either through an AI 3D generation model or by using an image-to-image prompt that places your flat design onto a rendered carton, bottle, or pouch in a specific context.
Prompting for packaging context adds significant value over a plain mockup. Specifying "stacked on a retail shelf at eye level, soft overhead retail lighting, surrounding products slightly out of focus" gives the client a genuine read on shelf presence. "Single unit on a white surface" tells them almost nothing about real-world performance.
Material and Finish Specificity for Packaging
Packaging materials have distinct visual signatures that need to be named precisely in prompts:
- Kraft board: natural brown fibrous texture, slightly rough surface, visible material grain
- Gloss foil: high specular reflections, colour shift under different light angles, metallic depth
- Frosted glass: translucency with soft diffusion, slight colour cast from contents, polished lip detail
- Biodegradable card: slightly warm tone, visible recycled fibre texture, matte uncoated surface
Label Accuracy Limitations
Current AI models struggle with precise typographic reproduction. If your label includes specific typefaces, exact legal copy, or complex logo lockups, AI will approximate rather than replicate. The practical approach is to use AI for structural and aesthetic exploration, then composite your real artwork onto the best-performing mockup in Photoshop or similar. The AI handles the lighting, shadow, and environment; you handle the typography accuracy. This hybrid method produces better results than either approach alone.
Building Lifestyle Context Images for Client Decks
A white-background render communicates form. A lifestyle context image communicates desire. The distinction matters commercially: clients approve products they can picture in use, not products they have to imagine.
What Lifestyle Context Images Actually Do
Lifestyle images place the product in a scene that mirrors the target user's world. They answer the implicit client question: "Does this look like something our customer would own?" That question is difficult to answer from a studio render alone. A well-constructed lifestyle prompt can close that gap before a single unit is produced or a photographer is commissioned.
Prompting for Product-in-Use Scenes
The variables to control in a lifestyle prompt are: setting, human presence, lighting quality, and brand register. Each maps to a different aspect of brand positioning:
- Setting: domestic interior, outdoor environment, commercial space, or abstract surface. Match the setting to where the product will actually be used.
- Human presence: hands only, partial figure, or no person. Hands suggest interaction and scale. Full figures shift attention away from the product.
- Lighting quality: golden hour natural light suggests aspiration and warmth. Overcast diffused light reads as editorial. Hard directional light reads as technical and confident.
- Brand register: the overall visual tone should match the client's existing photography without copying specific images.
Matching Brand Aesthetics Without Copying
Describing a client's photography style in prompt language is a learnable skill. Study their existing visual library for three variables: dominant colour temperature, surface preferences, and depth of field habits. Convert those observations into prompt language. "Warm 5500K colour temperature, natural linen and raw timber surfaces, shallow depth of field with subject sharp and background at 20% blur" is a prompt that reflects a studied visual identity, not a copy of any individual image.
Using Write and Image Together in the Same Session
The presentation deck needs both visuals and copy. Stensyl's Write pillar lets you generate product narratives, headline copy, and feature descriptions alongside the images in the same session. Briefing the visual and verbal simultaneously, using the same context, produces more coherent presentation material than generating them separately and trying to align them after the fact.
Structuring the Client Deck by Fidelity Level
A well-structured AI-assisted client deck moves through three visual registers:
- Concept level: rough image-to-image outputs from sketches, showing direction and proportion without material commitment
- Colourway level: consistent product renders across material and colour variants, suitable for decision-making
- Lifestyle level: context images showing the chosen direction in a real-world setting, suitable for sign-off
Each level earns the next. Clients who have already approved direction and colourway are far more likely to approve the lifestyle presentation quickly, because each decision has been isolated and made deliberately.
Where AI Product Visualisation Has Real Limits
Knowing what AI cannot do is as important as knowing what it can. The designers who integrate it most effectively are precise about the boundary.
Dimensional Accuracy
AI-generated product images are not engineering drawings. They cannot be scaled, dimensioned, or used to communicate tolerances. A product that looks proportionally correct in an AI render may have a handle too thin to grip, a base too narrow to stand, or a lid that would not physically operate. The image looks right because it is optimised for visual plausibility, not dimensional accuracy. Never allow an AI mockup to substitute for a CAD model in any context where real dimensions matter.
Complex Mechanical Assemblies
Current models render simple forms well. They struggle with complex mechanical assemblies, visible joinery, thread details, hinge mechanisms, and any feature where the geometry requires precise interlocking relationships. A product with exposed fasteners, a multi-part snap-fit assembly, or a folding mechanism will either be approximated poorly or simplified to the point of misrepresenting the design. These details still require CAD or physical prototyping to communicate accurately.
Legal and IP Considerations
Using AI-generated product imagery in commercial pitches raises questions that are still being resolved across the industry. Key considerations for product designers:
| Context | Risk Level | Recommended Approach |
|---|---|---|
| Internal concept review | Low | Use freely for ideation and team alignment |
| Client presentation (early stage) | Low to medium | Label clearly as AI-generated concept imagery |
| Published marketing material | Medium to high | Commission final photography or CGI for release |
| Patent applications or legal filings | High | Do not use AI-generated images under any circumstances |
AI Visualisation Requires Design Thinking to Direct It
This is the limit that matters most professionally. AI generates images based on the quality of the brief it receives. A designer who understands materials, light, spatial relationships, and brand positioning will get outputs that are genuinely useful. A non-designer running the same tools will get generic results that look polished but communicate nothing specific. The tool amplifies the designer's capability; it does not replace the capability itself.
The Handoff Point
Know when to move on. AI mockups serve the concept and communication phase. When a direction is approved, the handoff to CAD, physical prototyping, or commissioned photography should happen without hesitation. The mistake is continuing to iterate in AI when the design has already been validated and development needs to begin. Time spent generating AI variants of an approved concept is time not spent building it.
AI visualisation amplifies a skilled designer's output. It does not replace design thinking. The quality of what you get out is directly proportional to the specificity and expertise of what you put in.
The practical value of AI product visualisation tools sits in a specific window of the design process: after the initial sketch, before formal development, and wherever client communication needs to happen faster than traditional rendering allows. Within that window, the speed and economics are genuinely transformative. Outside it, traditional methods remain the right choice. Understanding that boundary precisely is what separates designers who use AI effectively from those who either avoid it entirely or rely on it past the point where it helps.
```Keep reading.

Try Stensyl for yourself
Image, video, 3D, chat, and document drafting. Every AI model, one studio. Plans from £10/month.