Trade Show Booth Design: From Sketch to Walkthrough Video.
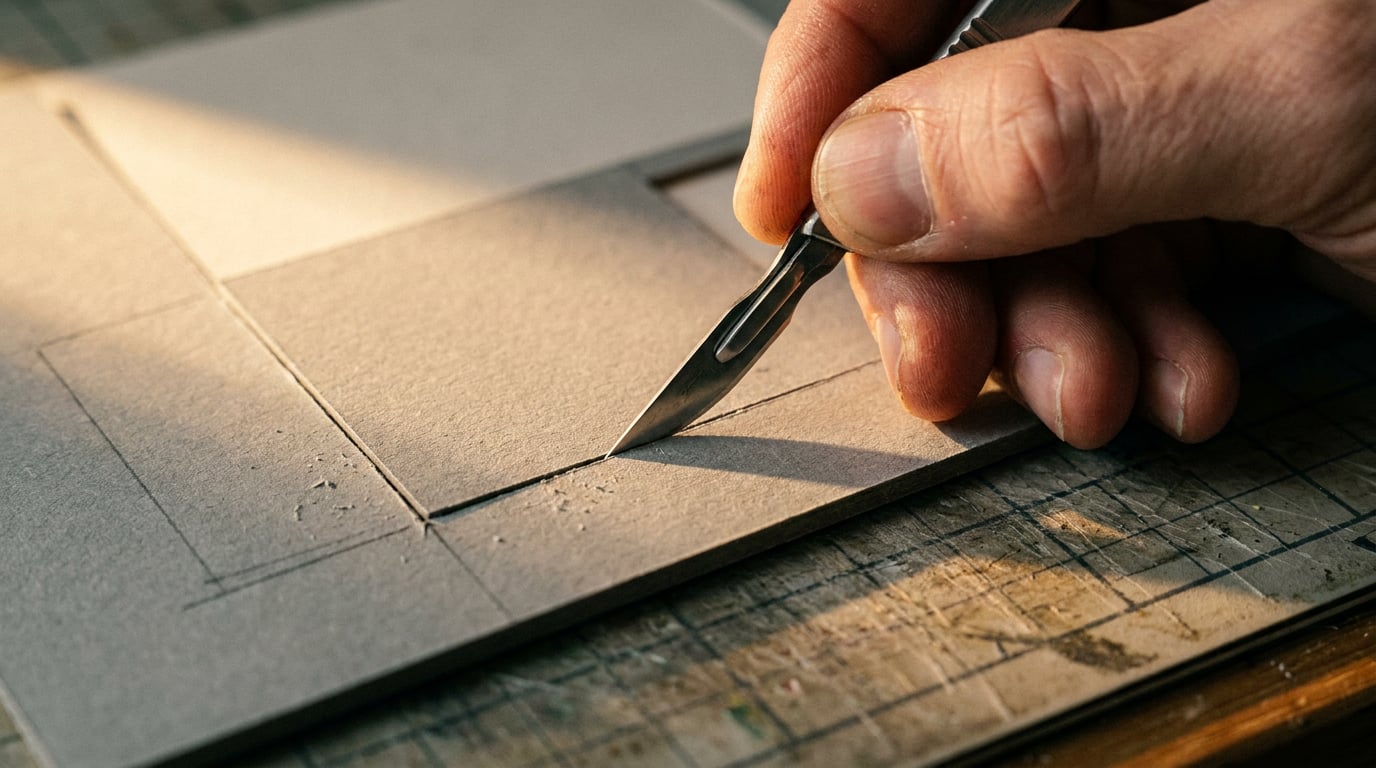
Chain five Stensyl surfaces into one booth design pipeline: concept sketches, 3D massing, photoreal renders, and a client-ready walkthrough video.
Why booth pitches die in the concept stage
Exhibition budgets are won or lost before a single panel gets fabricated. Clients approve or kill a booth concept based on the first round of visuals, and the biggest reason good concepts die there is a communication gap: most people cannot read a CAD floor plan or a flat elevation and imagine themselves standing in it. A static render shows what the stand looks like. It says nothing about what it feels like to walk the aisle, round the reception counter, and land in the product zone.
Current AI booth generators have made the first problem worse, not better, by optimising for speed at the expense of spatial answers. Upload a logo, write a prompt, get a single hero still in seconds. That covers mood and branding well. It does not answer the questions that actually decide a pitch: how wide is the circulation aisle, does the canopy clear the visitor sightline from the neighbouring stand, does the meeting pod feel private or exposed. Treat these single-image tools as what they are, mood boards with better resolution, not build-ready design.
The fix isn't a better still. It's a pipeline that keeps scale, circulation, and brand consistent from the first sketch through to a shareable walkthrough video, without exporting files between five different subscriptions to get there. That's the workflow this article walks through: Boards, 3D, Scene Composer, Graphics, Film, and Editing, all drawing from one credit pool.
A booth pitch should let a client watch themselves walk the stand, not just admire a hero render of it.
Step 1: Concept sketches and brand mood in Boards

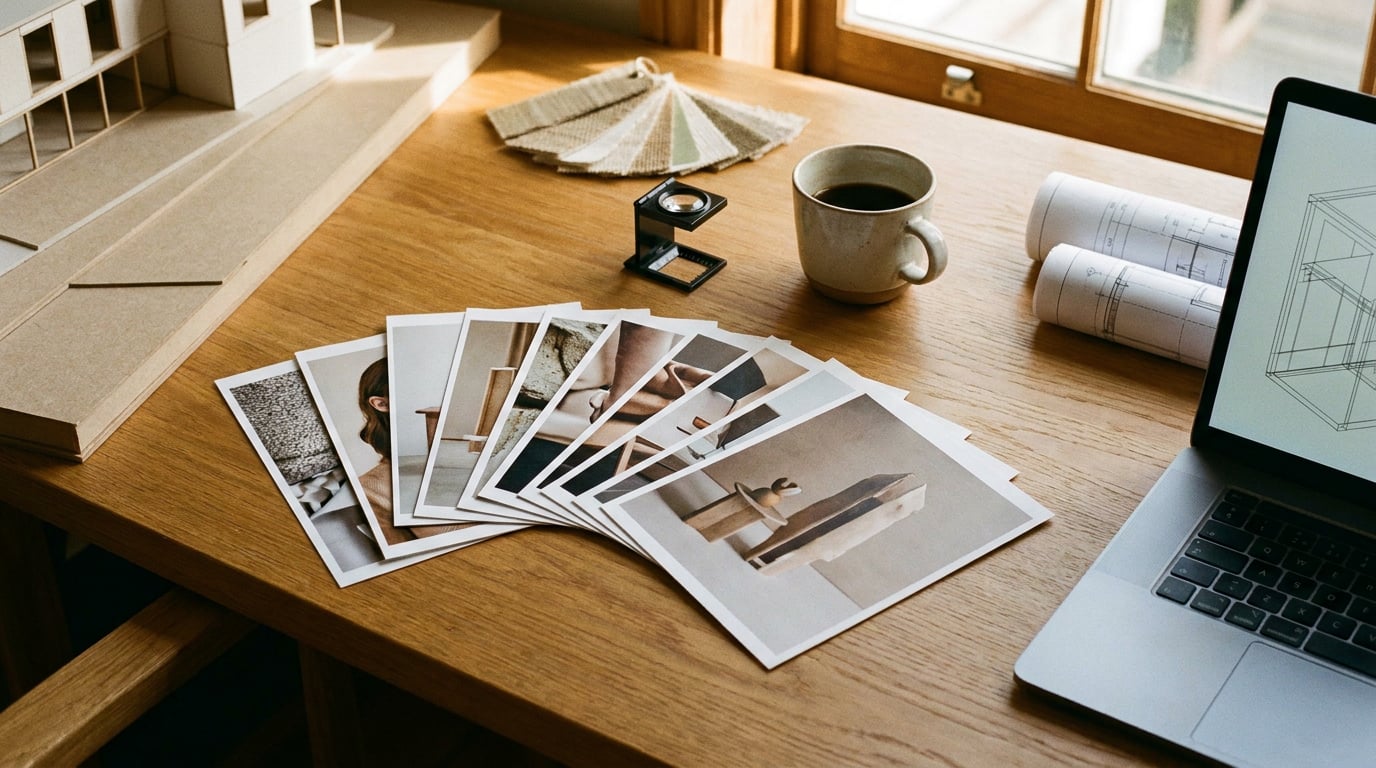
Every booth pitch starts with a mess of reference material: brand guidelines, competitor stand photography from last year's show, material swatches, half-remembered inspiration from a trade publication. Boards is where that mess becomes a working canvas rather than a folder of screenshots nobody opens twice. Pull in the client's brand assets, competitor stands from the same hall, and colour and material references onto one fluid surface.
From there, generate first-pass concept sketches in Image against the brand's actual colourways and logo lockup, so the client sees their identity applied to a stand shape rather than a generic booth render with a logo pasted on afterwards. This is the stage where a graphic designer on the team is thinking about signage hierarchy and a set designer is thinking about entrance framing, and Boards holds both conversations on the same canvas.
The detail that pays off later: group early frames into start and end pairs while you're still in Boards. A frame of the entrance and a frame of the product zone, sitting next to each other, become the first and last keyframe for a video shot once the project reaches Film. Setting this up now, while revisions are cheap, saves a re-shoot conversation three stages downstream.
Loop the client into Boards output early. A colour change or a signage swap here costs a prompt. The same change after the 3D build has started costs a afternoon.
Revisions in Boards cost a prompt. The same revision after 3D massing starts costs an afternoon of rework.
Step 2: Massing and structure in 3D and Scene Composer
Once a concept sketch has client sign-off, move it into the 3D studio to generate initial stand geometry: modular wall panels, canopy structures, a reception counter, product plinths. This is where the booth stops being an image and starts being a volume with dimensions, which matters enormously for architects and exhibition designers used to thinking in plan and section, and equally for automotive designers who need to know a turntable and turn radius actually fit the footprint.
Scene Composer is where that geometry gets posed properly. Use the gizmo controls to place walls, counters, and signage inside the actual footprint dimensions of the hall space, not a blank white void. Then swap in a 3D World as the exhibition hall backdrop, so the client sees the stand sitting among neighbouring booths and under the hall's actual lighting rig, not floating in isolation. Context changes everything a client notices: sightlines from the aisle, how the canopy reads against a competitor's taller structure two stands over, whether the reception desk blocks the entrance flow.
From Scene Composer, render a photorealistic still directly from the posed scene. This is the first genuinely client-facing visual in the pipeline, and it should already answer scale and circulation questions a flat concept sketch couldn't.
A stand rendered inside a 3D World answers the sightline and scale questions a floating hero shot never can.
Step 3: Refining materials, lighting, and branding
With massing approved, the detail pass begins. Push the Scene Composer render back into Image for material and lighting iterations: matte cladding against gloss, warm LED wash versus cool, signage placement tested at different heights. This is the stage where a product designer might be testing plinth finishes against a hero SKU, or a set designer is deciding whether a projection surface reads better matte or reflective under hall lighting.
Signage and wayfinding are their own discipline within the discipline, and this is where Graphics earns its place in the pipeline. Generate on-brand vector signage, wayfinding arrows, and banner graphics that stay true to the logo lockup and colour system established back in Boards, then drop them straight into the 3D scene rather than redrawing them from scratch in a separate vector tool.
When the brand brief is genuinely ambiguous, bring in Ray as a creative director rather than guessing. Ask it to reconcile the client's mood references against hall constraints: does a brand's signature deep navy read as premium or simply dark under standard hall lighting, does the requested open-plan layout actually satisfy the show's accessibility and aisle-width regulations. Ray works across the project chat with full context of what's already been generated, which matters more here than a generic prompt box would.

Step 4: Building the walkthrough in Film
A still render, however photoreal, still asks the client to imagine motion. The Film studio is where the stand becomes something a client experiences rather than studies. Sequence multiple scene angles into one multi-shot cinematic walkthrough: entrance, product zone, meeting pods, exit flow, the same sequence a visitor would actually walk on the show floor.
This is where the start/end frame pairs staged back in Boards pay off. Feed those keyframe pairs into Luma Ray 3.2 to generate 5 or 10 second shots between key stand positions, the entrance frame moving into the product zone frame, the product zone dissolving into the meeting pod. Ray 3.2 is built specifically around start and end keyframes, which makes it the natural fit for a sequence where you already know exactly where the camera needs to land.
Full-fidelity shots cost credits, so for early pacing decisions, use Luma Ray 2 Flash to preview camera movement before committing to a final render. Test whether the dolly through the entrance feels too slow, whether the pan across the reception desk lingers too long, at draft quality first. Once pacing is agreed, re-render the approved sequence at full quality.
For booths with many shots to orchestrate, a linear Film sequence isn't always enough. Canvas with the Assemble Film node handles batch orchestration across many shots in one pass, useful when a large stand has a dozen zones and the team needs to render variations for different client stakeholders without manually re-running each shot.
Step 5: Voiceover, captions, and the final cut

A silent walkthrough is a preview. A narrated one is a pitch. Add a voiceover in Audio, or generate a talking presenter through Avatar to introduce the stand on camera, useful when the sales team wants a consistent presenter face across every regional variant of the same booth pitch without booking a studio day. Avatar also handles multi-language video translation, which matters directly for international shows where the same walkthrough needs a German, French, and Mandarin version.
Bring the assembled walkthrough into Editing and use the Timeline lane to trim pacing and layer in captions, generated automatically via Whisper speech-to-text and baked directly into the export. For quick spoken adjustments that would otherwise mean re-cutting manually, OMNI takes a plain-language instruction, "slow the pan across the reception desk", and applies it to the clip directly.
Export a polished MP4 ready for the client deck, the sales team's tablet demo on the show floor, or trimmed down as a social teaser ahead of the event, exactly the kind of short-form cut a marketing team would push to LinkedIn or Instagram in the weeks before the show opens.
The same walkthrough that closes a client pitch becomes the sales team's tablet demo and the pre-show social teaser, cut once, reused three ways.
Running the whole pipeline on one credit system
Every stage above, Boards, 3D, Scene Composer, Graphics, Film, Editing, draws from the same credit pool rather than a separate bill for each tool. That matters more than it sounds, because most current booth-design tooling bills per feature silo: one subscription for image generation, another for the 3D layout tool, another for video rendering, another again for text-to-speech. Attributing cost to a single client pitch across five invoices is its own admin headache before the design work even starts.
A Pro plan's 7,000 credits and 3 concurrent generations suit a small exhibition studio running several client pitches in parallel, iterating a render for one client while a walkthrough renders for another. Once a booth project has run its course, save the Boards project as a template, so the next booth brief starts from the same reference structure, brand asset placement, keyframe grouping, material swatch layout, instead of a blank canvas every time a new RFP lands.
| Stage | Studio | Output |
|---|---|---|
| Concept & mood | Boards | Reference canvas, first-pass sketches, keyframe pairs |
| Massing | 3D + Scene Composer | Posed stand geometry in hall context |
| Materials & signage | Image + Graphics | Lighting/material iterations, vector signage |
| Walkthrough | Film + Canvas | Multi-shot cinematic sequence |
| Final cut | Audio/Avatar + Editing | Narrated, captioned MP4 |
The gap between an approved concept and a rejected one is rarely the design itself. It's whether the client could see themselves standing in it.
A booth pitch that shows a client the aisle, the sightline, and the walk from entrance to product zone wins the room faster than the sharpest single still ever could. Build that pipeline once, keep it on one credit system, and the next booth brief starts from a template instead of a blank page.
Keep reading.
Try Stensyl for yourself
Image, video, 3D, chat, and document drafting. Every AI model, one studio. Plans from $11/month.