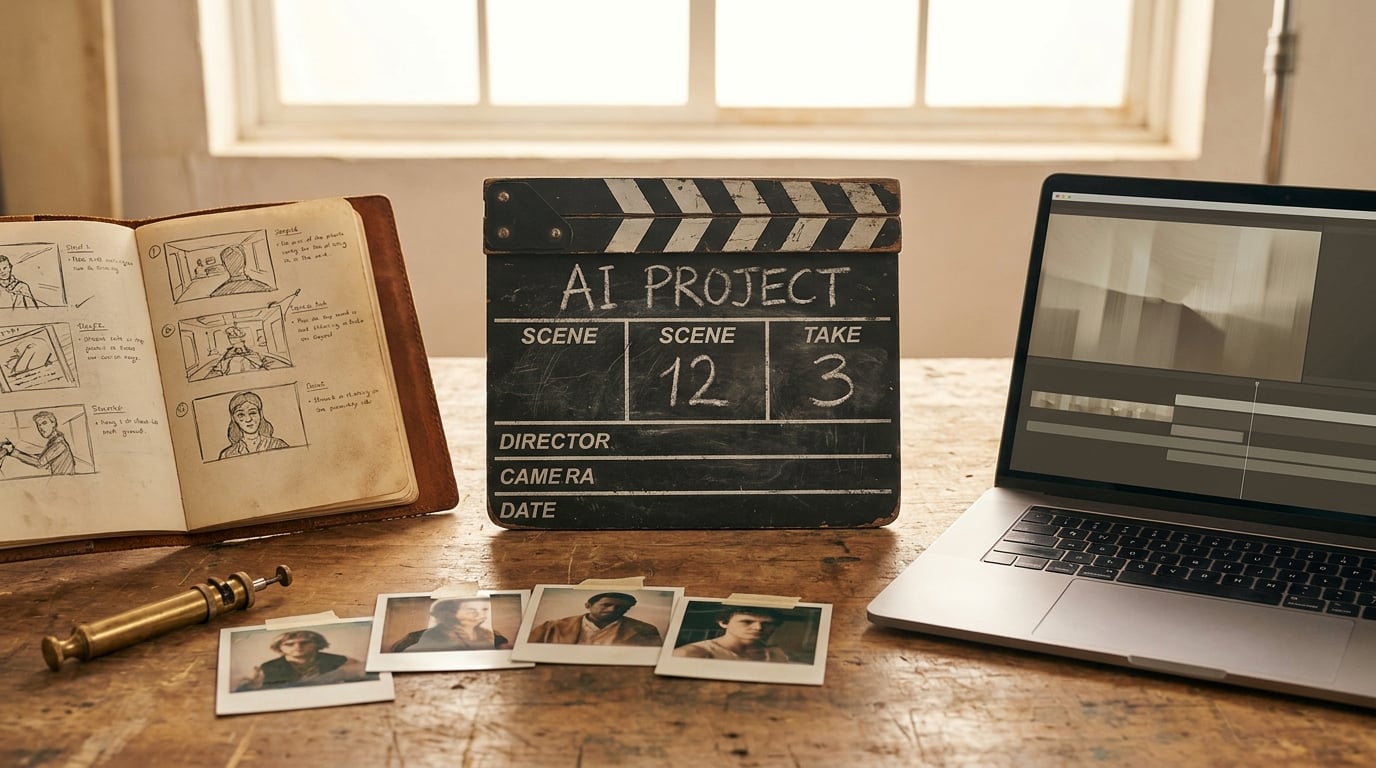
From Sketch to Cinematic Walkthrough: The Full Pipeline.
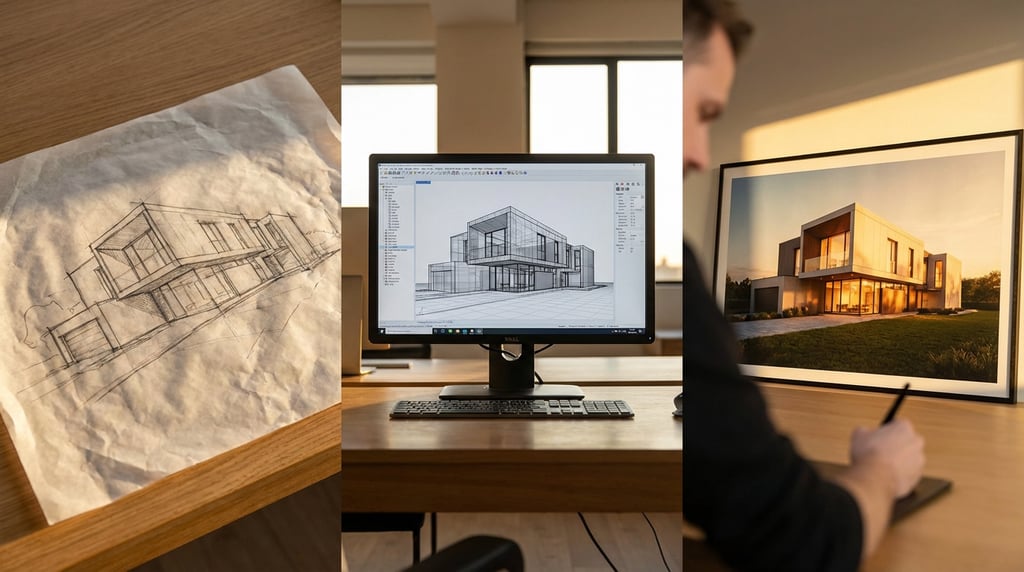
Every architecture presentation starts with a rough idea and ends with a polished walkthrough. Here is the complete pipeline, stage by stage, using Stensyl.
From Sketch to Cinematic Walkthrough: The Full Pipeline

Producing a cinematic architectural walkthrough from raw design geometry is a disciplined, sequential process. Follow the right pipeline and you avoid the costly rework, render artefacts, and last-minute scrambles that derail project delivery.
This guide covers every stage from file import to final client handover, using Stensyl as the production environment throughout. Whether you are working on a residential scheme, a commercial interior, or a large mixed-use development, the stages below apply consistently.
Stage One: Importing and Preparing Your Base Geometry
The quality of everything that follows depends entirely on the geometry you bring in. Time spent preparing files before import saves hours of troubleshooting later.
Accepted File Formats
Stensyl accepts the formats that architectural and engineering practices actually use. DWG files from AutoCAD and civil design tools come in cleanly when exported at the correct unit scale. FBX handles complex geometry with embedded materials and hierarchy intact, making it the preferred format when exporting from Revit via an intermediary like 3ds Max or Blender. IFC files, increasingly common on BIM-led projects, carry rich object data including storey structure, element classification, and material assignments, all of which Stensyl reads directly.
| Format | Source Tool | Strengths | Watch Points |
|---|---|---|---|
| DWG | AutoCAD, Civil 3D | Precise linework, lightweight | No material data; scale units must match |
| FBX | Revit, 3ds Max, SketchUp | Hierarchy, normals, UV maps preserved | Can carry duplicate geometry if not cleaned |
| IFC | Revit, ArchiCAD, Vectorworks | BIM data, storey structure, element types | Tessellation quality varies by exporter |
| OBJ | SketchUp, Rhino, Blender | Universal, simple | No scene hierarchy; material links often break |
Cleaning Mesh Geometry
Non-manifold edges, inverted normals, and overlapping faces are invisible in a CAD view but cause visible artefacts in a path-traced render. Before importing, run a mesh audit in your source application. In Revit, avoid exporting elements with zero-thickness faces. In SketchUp, use the solid inspector to resolve open groups. The goal is watertight, consistently oriented geometry throughout.
Scale, Orientation, and Organisation
Set your import units to match real-world dimensions on the way in, not after the fact. A building imported at centimetre scale when Stensyl is set to metres will render with lighting that looks physically wrong because the engine calculates light falloff based on actual distance. Confirm north orientation at import so your sun and sky simulations align with the actual site.
Naming conventions matter more than most studios admit. A flat list of objects named Mesh_001 through Mesh_847 makes material assignment and scene iteration painfully slow. Use a consistent convention such as Level_Element_Material, for example G_Wall_Concrete or 01_Floor_Timber, and apply it before import so Stensyl's layer panel reflects your design hierarchy from the start.
Import diagnostics first, always. Stensyl's built-in import diagnostics panel flags non-manifold geometry, missing UVs, and scale anomalies before they reach the scene. Running this check takes two minutes and prevents render issues that could cost two hours to diagnose later in production.
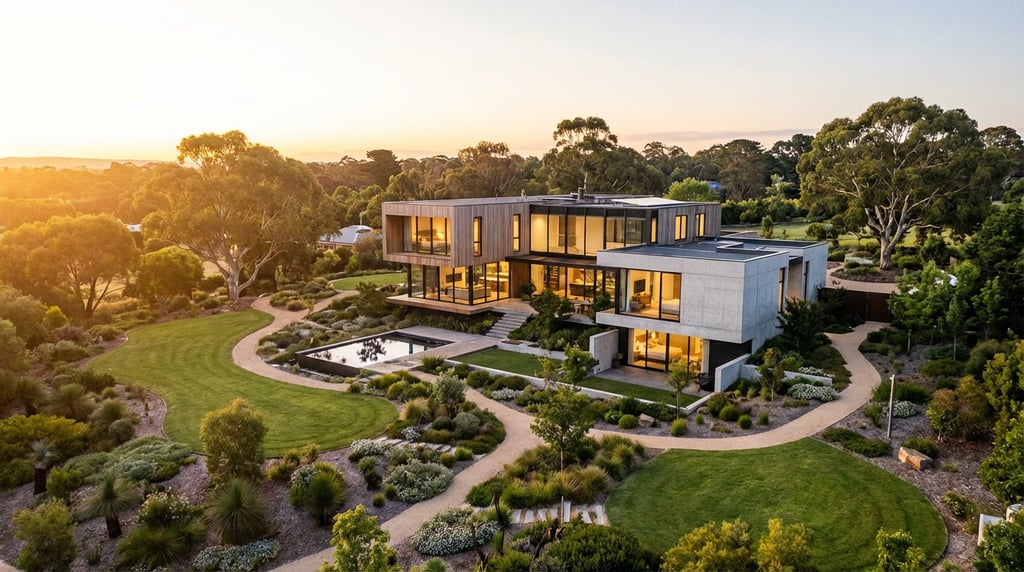
Stage Two: Materials, Lighting, and Atmosphere
A geometrically accurate model presented under flat, unconvincing lighting will fail to communicate the quality of a design. Materials and lighting are where technical accuracy meets spatial storytelling.
Physically Based Materials
Stensyl's material system uses physically based rendering values, meaning roughness, metalness, and index of refraction map directly to real-world surface behaviour. For walls, apply the correct base colour and roughness for the specified plaster or brick finish. Glazing requires particular attention: set transmission, interior tint, and reflectivity values to match the specified glass specification, because glazing that reads incorrectly destroys the credibility of an interior render more than almost anything else. Flooring materials benefit from accurate tile scale linked to real dimensions, and soft furnishings need fabric normals that respond correctly to directional light.
HDRI Versus Sun and Sky
For exterior visualisations where the surrounding context matters, a matched HDRI environment provides realistic ambient fill and a consistent horizon. For schemes where precise solar angle and seasonal daylight are part of the design argument, Stensyl's procedural sun and sky system gives you control over date, time, and geographic latitude. Interior schemes with large glazed facades benefit from combining a sun and sky setup with carefully placed artificial sources so that the balance between natural and artificial light reads clearly at the intended time of day.
Artificial Light Layering and Material Overrides
Interior schemes with mixed lighting conditions require a layered approach. Start with ambient daylight, then add primary artificial sources such as downlights and pendants, then add accent and task lighting. Keep each light layer on a separate channel so you can adjust the balance without re-rendering the entire scene.
Material overrides allow you to present multiple finish options within a single scene file. Tag walls, floors, or joinery elements with an override group and swap between approved palettes in seconds. This approach eliminates the version management nightmare of maintaining parallel scene files for each finish option.
Time of day changes the design argument. A scheme designed around natural light should be rendered at the solar angle that demonstrates it most effectively. Use Stensyl's sun path tool to find the exact time and date that validates the design intent, then lock that setting for the client presentation.
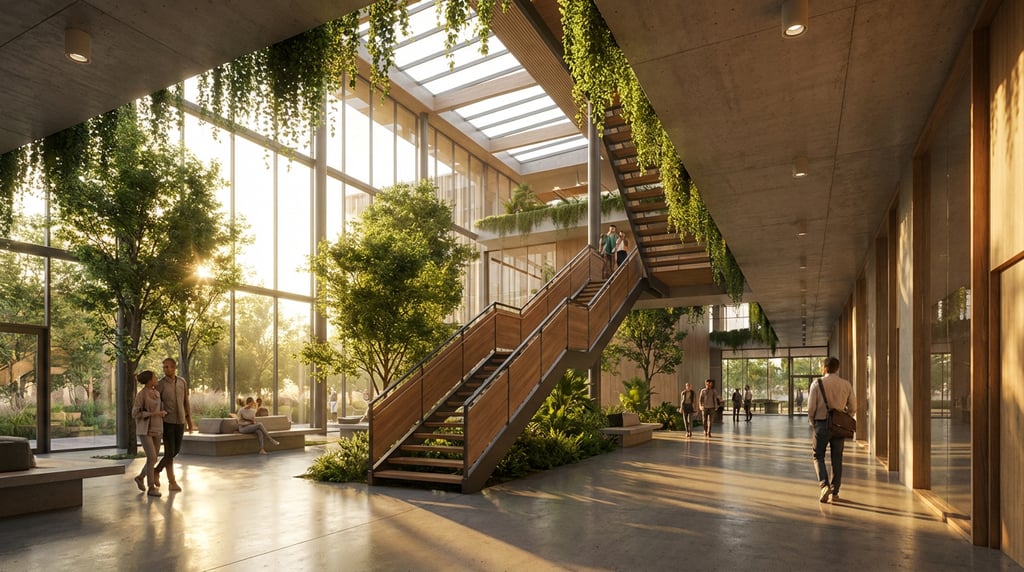
Stage Three: Composing Stills for Design Review
Stills remain the primary tool for design review at planning stage, client approval, and competition submission. Composition decisions made here will carry through to the walkthrough sequence.
Camera Position and Focal Length
Camera position should be chosen to communicate spatial hierarchy, not to simply show the most geometry. A well-chosen viewpoint in an entry hall that draws the eye through to a key view or material moment tells a design story. A wide shot showing everything equally tells none. Human eye height at 1600mm is a reliable default; lower viewpoints dramatise volume, higher viewpoints clarify plan organisation.
Focal length affects how space reads on screen. A 24mm equivalent widens a tight interior but distorts the edges. A 50mm equivalent reads as natural and honest. A 85mm or longer equivalent compresses depth and suits exterior elevational shots where you want to show material relationships without exaggerating scale. Set depth of field to draw the viewer's attention to the primary design element in each frame, keeping it subtle enough not to read as a photographic trick.
Preview, Export, and Annotation
Run quick preview renders at 25 percent resolution before committing to a full-quality pass. This takes seconds and catches composition errors, unwanted reflections, and lighting imbalances that are expensive to fix after a full render has queued. When the composition is confirmed, export at full resolution to a layered EXR or PSD file. EXR files carry separate render passes including diffuse, reflection, shadow, and depth, giving your post-production team full flexibility. PSD exports suit direct client delivery where layered file handling is simpler.
Stensyl's annotation tools allow you to pin comments directly onto still frames, tagging specific areas with design notes or client queries. Using this during internal review rounds means all feedback is attached to the visual rather than buried in an email thread.
Stage Four: Building the Walkthrough Sequence
A walkthrough is not a recording of someone navigating a 3D model. It is a directed sequence with a beginning, middle, and end, designed to guide the viewer through the building as a considered spatial experience.
Defining the Narrative Path
Map the route before touching the camera controls. A natural visitor sequence for a residential scheme might run from street approach to entrance, through arrival hall, into the main living space, and out to a terrace with the key view. A commercial scheme might prioritise the reception experience, a key meeting space, and the rooftop amenity. Write this as a list of spatial moments before you set a single keyframe.
Keyframes and Spline Paths
Set keyframes at each spatial moment: position, rotation, and focal length. Between keyframes, Stensyl's spline-based interpolation produces smooth, physically plausible movement that avoids the mechanical, rigid transitions that make amateur walkthroughs immediately recognisable. Pay particular attention to the camera height through transitions. Dropping the camera as you move through a low threshold and raising it as you enter a volume of height is the kind of detail that separates a cinematic sequence from a technical demonstration.
Timing and Pacing
If the walkthrough will be delivered with a voiceover script, cut the timing to the script first. Each spatial moment should align with the spoken description. If the sequence is set to background music, use the bar structure of the track to pace transitions. A cut or camera move landing on a musical beat reads as intentional; the same move half a bar out registers as accidental. Preview the full sequence at reduced quality, playing it back with the audio in sync, before submitting to final render.
The narrative path is the most important decision in walkthrough production. A technically perfect animation that moves through spaces in the wrong order, at the wrong pace, or from the wrong viewpoints will fail to communicate the design. Plan the sequence on paper before opening the camera controls.
Stage Five: Rendering and Output for Delivery
Render settings and output formats are not afterthoughts. The wrong choices here waste time, produce files that clients cannot open, or deliver quality that does not hold up on a large presentation screen.
Resolution and Frame Rate
For client presentation screens and competition boards, 1920 x 1080 at 25fps is the standard. For large format display or broadcast submission, 3840 x 2160 at 25fps is appropriate. Avoid 30fps unless you are delivering specifically for North American broadcast contexts; it reads as slightly unnatural to most European audiences accustomed to 25fps. For stills, a minimum of 300dpi at A2 presentation size equates to roughly 7000 x 4950 pixels; confirm the output dimensions against the layout template before rendering.
Cloud Render Queue
Long walkthrough sequences at full resolution can run to thousands of frames. Submitting these to Stensyl's cloud render queue frees your local hardware for continued design work and removes the risk of a local machine failure interrupting a multi-hour render job. The queue provides frame-by-frame progress tracking and flags any frames that fail so they can be re-queued individually without restarting the sequence.
Post-Process Effects and Export Formats
Colour grading, vignette, and lens correction applied at render time are baked into the output and ensure consistency across every frame. Apply these at the scene level rather than in post-production to guarantee that stills and video frames from the same scene match exactly. For video delivery, export MP4 with H.264 compression for direct client viewing and website embedding. For competition boards, export ProRes for maximum quality before the board designer compresses for submission. Package stills, video, and any interactive files into a single Stensyl project link so the client receives one URL rather than a collection of file transfers.
Stage Six: Presenting and Iterating with Clients
The render is not the end of the pipeline. How you present and respond to feedback determines whether the project moves forward efficiently or gets stuck in revision cycles.
Live Presentation Mode
Stensyl's live presentation mode allows you to walk a client through the project in real time from within the application, navigating between pre-set camera positions, swapping material options, and adjusting daylight conditions without leaving the session. This transforms a static presentation into a conversation. When a client asks what the living room looks like in a different stone finish, you can show them immediately rather than promising a revised render in three days.
Feedback Collection and Versioning
Timestamped feedback collected directly on walkthrough frames eliminates ambiguity. When a client says "the bedroom feels dark in the video", a comment pinned to frame 847 with the exact note is unambiguous. This reduces the back-and-forth that otherwise fills the gap between a review meeting and the revision brief.
Versioning within Stensyl means earlier design options remain accessible throughout the project. If a client returns to a previously rejected finish or layout, you can pull it back without reconstructing from a backup. Keep a clear version log with dates and approval status attached to each scene.
Final Handover Package
A professional handover is not a folder of renders sent via a file transfer service. The final locked package should include all approved stills at full resolution, the final video in agreed formats, annotated review frames as a PDF record, and a Stensyl project link with all assets, materials, and lighting settings intact. This gives the client a permanent record of the visualisation work and provides your practice with a fully documented project file if the scheme returns for a later phase.
| Deliverable | Format | Purpose |
|---|---|---|
| Approved stills | TIFF / JPEG at 300dpi | Planning submission, print boards |
| Walkthrough video | MP4 H.264 / ProRes | Client viewing, website, competition |
| Layered render passes | EXR | Post-production flexibility |
| Annotation record | PDF export | Review audit trail |
| Project archive | Stensyl project link | Live access, future phases |
The Pipeline as a Professional Standard
The difference between a visualisation pipeline that delivers consistently and one that produces last-minute crises is discipline at each stage. Clean geometry in. Physically accurate materials and lighting. Composed, camera-directed stills. A narrative-led walkthrough sequence. Renders output at the right specification for the right audience. Presentations that allow real-time response to client questions. Feedback collected in context. A handover package that documents the work properly.
Each stage feeds the next. Shortcuts at import become artefacts at render. Weak composition in stills produces a directionless walkthrough. A poorly structured presentation extends the revision cycle. Follow the pipeline in full and the final delivery reflects the quality of the design it represents.
Keep reading.

Try Stensyl for yourself
Image, video, 3D, chat, and document drafting. Every AI model, one studio. Plans from £10/month.