Sketch to Render to Video: Architecture Presentation Pipeline.
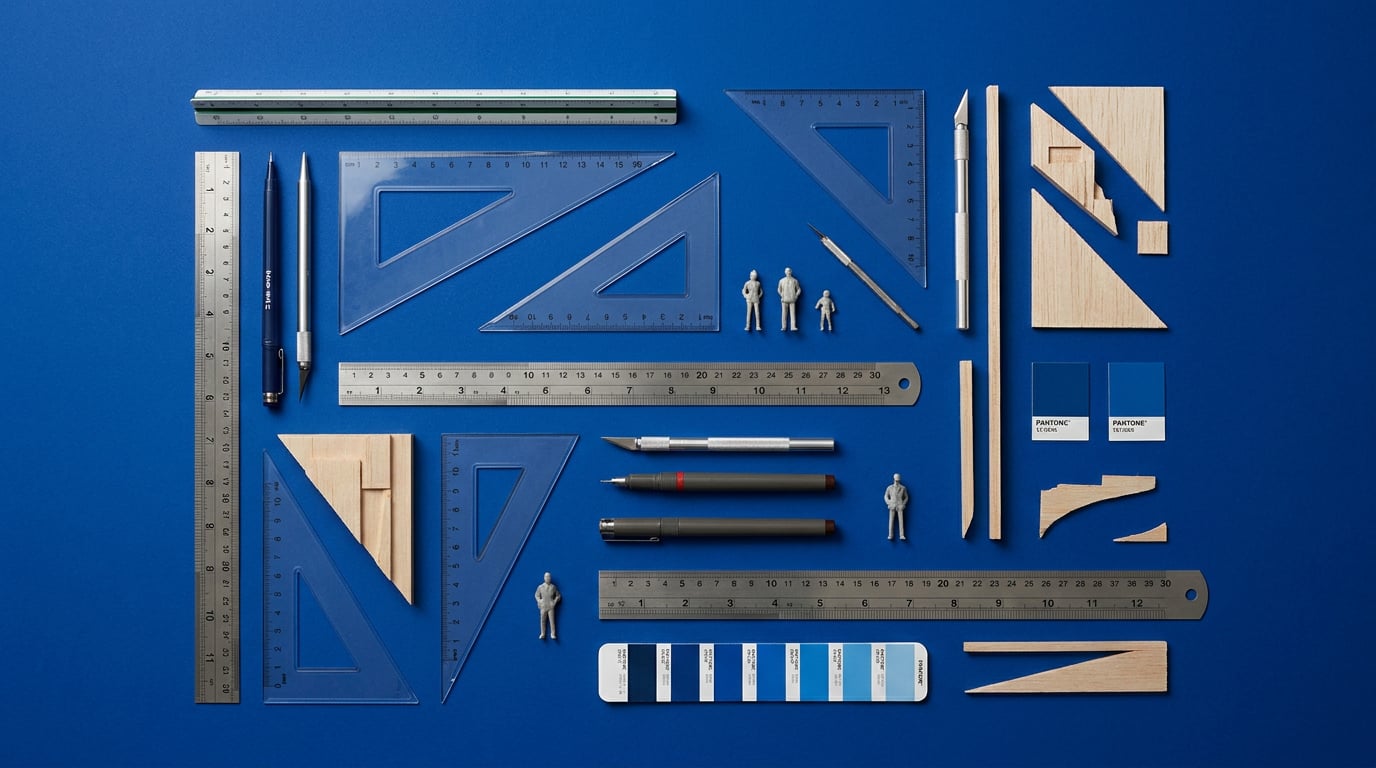
Turn a hand-drawn floor plan into a client-ready video walkthrough using Stensyl's five generation modes in sequence.
Why Most Architecture Presentations Break Down at the Handoff

Static renders lose clients. Not because the images are bad, but because a single frozen frame asks the viewer to do too much imaginative work on their own. The gap between what a designer intends and what a client actually comprehends is rarely about taste. It is about sequence, narrative, and the inability of a PDF to convey how a space will feel to move through.
The traditional pipeline compounds this. A project moves from CAD to a rendering package, through hours of lighting setup and material assignment, into a PDF deck that gets emailed and promptly misread. Every handoff between tools is a place where time disappears and intent degrades. A client sees a flat image of a kitchen extension and asks why it looks "dark". The architect knows the render is set at golden hour. The client does not read renders the way architects do.
What a Chained AI Pipeline Changes
Chaining AI tools together across a single session changes three things: speed, iteration depth, and narrative continuity. Instead of committing to a single polished render before showing anything, you can generate six concept variants from a rough sketch in under an hour, move the strongest one into 3D, animate it, and present a sixty-second walkthrough before the client has drafted their feedback email. The pipeline becomes a conversation tool, not just a deliverable.
Stensyl is structured around five generation modes: Image, Video, 3D, Motion, and Write. Each maps directly to a stage in architecture presentation. Image handles concept visualisation. 3D builds volumetric geometry from your best render. Video animates the space. Motion adds the presentation layer. Write generates the narrative copy, voiceover scripts, and planning language that ties it together. One platform, one credit system, no subscription juggling.
| Presentation Stage | Stensyl Mode | Primary Model |
|---|---|---|
| Concept visualisation from sketch | Image | Flux, Nano Banana Pro |
| 3D mesh generation | 3D | Meshy |
| Spatial animation | Video | Kling, Veo, Runway |
| Presentation layer and motion graphics | Motion | Motion stack |
| Voiceover scripts and project narrative | Write | Claude, GPT, Gemini |
Every stage of the pipeline feeds the next. The discipline is in making deliberate choices at each handoff rather than generating indefinitely.
Stage 1: From Sketch or Floor Plan to Concept Render

The starting point does not need to be clean. A napkin sketch, a photograph of trace paper, or a rough CAD export at low resolution all work as inputs into Stensyl's Image mode. The image-to-image workflow in Flux and Nano Banana Pro reads the spatial geometry of your sketch and applies materials, lighting, and atmosphere on top of it. You are not generating from nothing. You are dressing a structure you have already designed.
Prompt Structure for Architecture
Vague prompts produce vague renders. For architecture, your prompt needs to specify at minimum: materiality, time of day, interior or exterior perspective, and camera angle. A working prompt structure looks like this:
"Exterior view, ground-level perspective, board-formed concrete and weathered steel cladding, large fixed glazing, late afternoon light casting long shadows, overcast sky with directional sun break, residential extension, photorealistic, high contrast."
Each clause is doing specific work. "Board-formed concrete" is more useful than "concrete" because it tells the model the texture and casting pattern. "Late afternoon light casting long shadows" is more useful than "golden hour" because it describes the physical effect rather than a mood shorthand. "Ground-level perspective" prevents the model defaulting to an aerial or axonometric view that looks diagrammatic rather than experiential.
Interior prompts follow the same logic. Specify ceiling height qualitatively ("double-height volume"), floor material ("large-format limestone tile"), light source type ("north-facing rooflights, diffuse daylight"), and human scale reference if needed ("empty space, no furniture, sense of volume").
Generating Multiple Variants in a Single Session
Run four to six variants per design direction in a single session. Adjust one variable at a time: swap the cladding material, change the time of day, shift from overcast to direct sun. This stress-tests the design against different atmospheric conditions and gives you a selection deck rather than a single committed image. Clients respond better when they are choosing between options rather than reacting to a single proposal.
At the end of this stage, save your strongest render with a naming convention that includes the project code, the stage, and the variant number. Something like PRJ04_CONCEPT_EXT_V3.png takes seconds to implement and saves significant confusion when you are pulling files into Video mode two stages later.
File naming discipline at Stage 1 is not housekeeping. It is the foundation of a repeatable pipeline. Get it right before you generate, not after.
Stage 2: Building a 3D Model from Your Best Render
Once you have a concept render you are confident in, Stensyl's 3D mode with Meshy converts it into a base mesh. You are uploading the chosen render as a reference image and prompting Meshy to reconstruct the geometry it sees. The output is a textured 3D object that captures the primary volumes, material reads, and proportions of your render.
Managing Geometry Expectations
Meshy handles massing well. Simple rectilinear forms, clear material breaks, and strong silhouettes produce clean geometry. Where it struggles is with fine architectural detail: window mullion profiles, brickwork coursing, complex roof junctions. Treat the Meshy output as a presentation massing model, not a construction document. For a client walkthrough, this level of geometry is entirely appropriate. For anything that needs dimensional accuracy, you will still need your CAD environment.
The practical decision at this stage is whether to export the mesh or keep it within Stensyl. If your next step is animated video and you want to use the 3D model as a camera reference for Video mode, keeping it in Stensyl is the faster route. If you need to refine the geometry in Rhino, Blender, or SketchUp before animating, export as OBJ or GLB and bring the cleaned version back in.
Using Write Mode to Inform 3D Prompts
Before generating the 3D model, use Stensyl's Write mode to draft a spatial brief. A short room-by-room description of materials and volumes gives you structured language you can pull directly into your 3D prompts. Ask Claude or GPT to produce a brief in this format: room name, floor area, ceiling height, primary materials, key architectural feature. This takes three minutes and means your prompts across Image, 3D, and Video modes are using consistent language rather than drifting between sessions.
Stage 3: Animating the Space with Video Mode

Video mode is where the pipeline shifts from images that describe a building to footage that lets a client experience it. Feed your chosen concept render or the rendered output of your 3D model into Stensyl Video mode. Kling, Veo, and Runway each have different strengths for architectural content. Kling handles slow, atmospheric camera moves with good temporal consistency. Veo produces high-fidelity photorealistic frames. Runway gives you more control over motion intensity and is useful when you need a precise, short clip rather than a generative atmosphere.
Camera Move Types for Architecture
Architectural video generation works best when you match the camera move to the spatial quality you are trying to communicate.
- Slow push-in: Best for facades and entrance sequences. Creates anticipation and communicates scale.
- Orbit: Best for massing and external form. Lets the client read the building from multiple angles without cutting.
- Flythrough: Best for procession through a building. Works well for planning submissions where sequence of spaces matters.
- Interior pan: Best for communicating room quality, material texture, and light. Slow speed, low angle, minimal camera height change.
Prompt Language for Video Generation
Video prompts in this context need to describe motion and atmosphere as a continuous experience rather than a static scene. Structure your prompt in three parts: describe the starting frame, describe the camera movement, describe the lighting and atmospheric progression.
"Exterior view of a concrete and glass residential building at dusk. Camera begins at street level and performs a slow orbital move left to right, revealing the full south facade. Warm interior light visible through glazing, soft blue-hour sky transitioning to deep navy. No movement inside the building. Photorealistic, cinematic."
Generate multiple short clips per space, typically three to five per key area. Select for narrative flow rather than technical quality alone. A slightly softer clip that shows the right spatial sequence is more useful in a client presentation than a technically perfect clip that reads out of order.
Common Failure Modes and How to Avoid Them
The most common failure in architectural video generation is unwanted object movement. Trees thrash, water surfaces become chaotic, and shadows shift unnaturally when the model interprets "atmospheric" as "dynamic". Counter this by explicitly stating what should not move: "static scene, no wind movement, no figure movement, fixed camera motion only". The second failure is geometry drift, where the building's proportions change mid-clip. This is more common with complex forms. Reduce it by using a high-fidelity reference image and specifying "consistent architecture, no morphing, stable geometry" in your prompt.
The single most important prompt instruction for architectural video: specify exactly what moves and exactly what stays still. Ambiguity in video prompts defaults to chaos.
Stage 4: Adding Motion Graphics and Presentation Layer
Individual video clips are raw material. The presentation layer is what turns a collection of clips into a client walkthrough that actually communicates. Stensyl's Motion mode handles title cards, phase labels, and animated callouts layered over your video content. This is where the presentation gains the professional finish that bridges the gap between generative output and boardroom-ready deliverable.
Sequencing a Client Walkthrough
Structure the sequence the way you would walk a client through the building in person. Start at the entrance or approach. Move through threshold moments. Spend time in key spaces. Close with exterior detail or a moment that captures the atmosphere of the project. A typical residential project presentation runs to four or five clips totalling sixty to ninety seconds. Planning submissions can run longer, but client attention does not reliably hold past two minutes without a voiceover.
Use phase labels to orient the viewer: "Ground Floor Living", "First Floor Study", "South Garden Elevation". Keep them typographically minimal. Animated callouts work well for materials and specification highlights, but use them sparingly. Two or three per presentation is enough. More than that and the motion competes with the space rather than directing attention to it.
Exporting for Different Contexts
Export formats should match the delivery context from the start, not as an afterthought. A pitch deck embed needs a compressed MP4 at a resolution that loads quickly in PowerPoint or Keynote. A fullscreen client meeting display needs maximum resolution, ideally at the aspect ratio of the room's screen. A social preview clip for Instagram or LinkedIn needs a square or portrait crop, a shorter duration, and title text that reads without audio.
Set these as separate exports at the end of your Motion session rather than re-editing after the fact. It takes ten minutes during the session and saves an hour when the client asks for the LinkedIn version two days before the project launch.
Write Mode for Voiceover and Project Narrative
Use Stensyl's Write mode with Claude or GPT to generate voiceover scripts timed to your video sequence. Give the model the clip durations, the spatial brief you drafted at Stage 2, and the key design intentions. Ask for a script in timed segments that match your clip lengths. Claude is particularly good at architectural prose that sounds considered rather than promotional. GPT produces slightly more direct copy that works well for planning statement language.
Write mode is also useful for generating the project narrative document that accompanies a planning submission or client design report. Prompt it with your spatial brief, material palette, and design rationale. Edit the output against your own voice. You will typically use fifty to seventy percent of what it produces directly, and the rest will prompt your own writing more efficiently than starting from a blank document.
Managing the Full Pipeline: Credits, Time, and Client Iteration
A single project presentation running through all five modes, from sketch to animated walkthrough, uses a predictable volume of credits. The breakdown below is based on a residential project with one exterior sequence, two interior spaces, and a sixty-second final video with motion graphics and a one-page written narrative.
| Mode | Activity | Estimated Credits |
|---|---|---|
| Image | 6 concept renders from sketch, 2 material variants | 40–60 |
| 3D | 1 base mesh from chosen render, 1 revision | 20–30 |
| Video | 4 clips across 3 spaces, 2 selects per space | 80–120 |
| Motion | Sequencing, title cards, 3 callouts, 3 export versions | 15–25 |
| Write | Spatial brief, voiceover script, project narrative summary | 10–15 |
| Total | 165–250 |
Which Plan Suits Which Studio Size
For a solo architect running two or three active projects, the Starter plan at £19/month covers a full pipeline presentation per project with credits to spare for iteration. The Pro plan at £35/month suits practices with four to six concurrent projects or those running regular planning submissions that require multiple presentation rounds. Studio at £69/month is the right level for teams where multiple designers are generating across modes simultaneously, or for firms that use the pipeline for every project stage from feasibility to planning to client handover.
Structuring Client Feedback Without Starting From Scratch
The biggest time loss in client iteration is not the regeneration itself. It is the disorganisation that forces you to rebuild context each time. Avoid this by saving your strongest concept render, your spatial brief document, and your core prompt sets at the end of each stage. When a client asks for a material change after the video stage, you return to your Stage 1 prompt, adjust the cladding specification, regenerate the concept render, and carry the updated image forward into Video mode. You are not starting over. You are branching from a stable point.
Name your iteration branches clearly. PRJ04_FEEDBACK_R1_BRICK.png versus PRJ04_FEEDBACK_R1_TIMBER.png makes the comparison explicit in the filename before you open either file. Present the client with a direct comparison rather than a single revised option. It shortens the decision cycle.
Building a Repeatable Studio Template
After two or three projects through the full pipeline, you will have a set of prompt structures, style references, and Motion templates that define your studio's visual language. Save these as a studio template file: a document containing your standard exterior prompt structure, your interior prompt structure, your preferred camera move descriptions for each space type, and your Motion sequence order. Each new project starts from this template rather than from scratch. The time saving compounds quickly, and the output has a consistent quality register that clients start to associate with your practice.
The pipeline is only as strong as the constraints you build into it. Templates and naming conventions are not overhead. They are the mechanism that turns a one-off experiment into a studio workflow.
A studio template built after your first three pipeline projects will save more time across the year than any single efficiency gain at any individual stage.
The full pipeline from sketch to animated presentation is now achievable within a single working day for a straightforward residential project. The shift this enables is not just speed. It is the ability to present design intent as an experience rather than an artefact, and to iterate that experience in response to client feedback without losing the work already done. That is what closes the gap between what you have designed and what your client understands.
Keep reading.

Try Stensyl for yourself
Image, video, 3D, chat, and document drafting. Every AI model, one studio. Plans from £10/month.