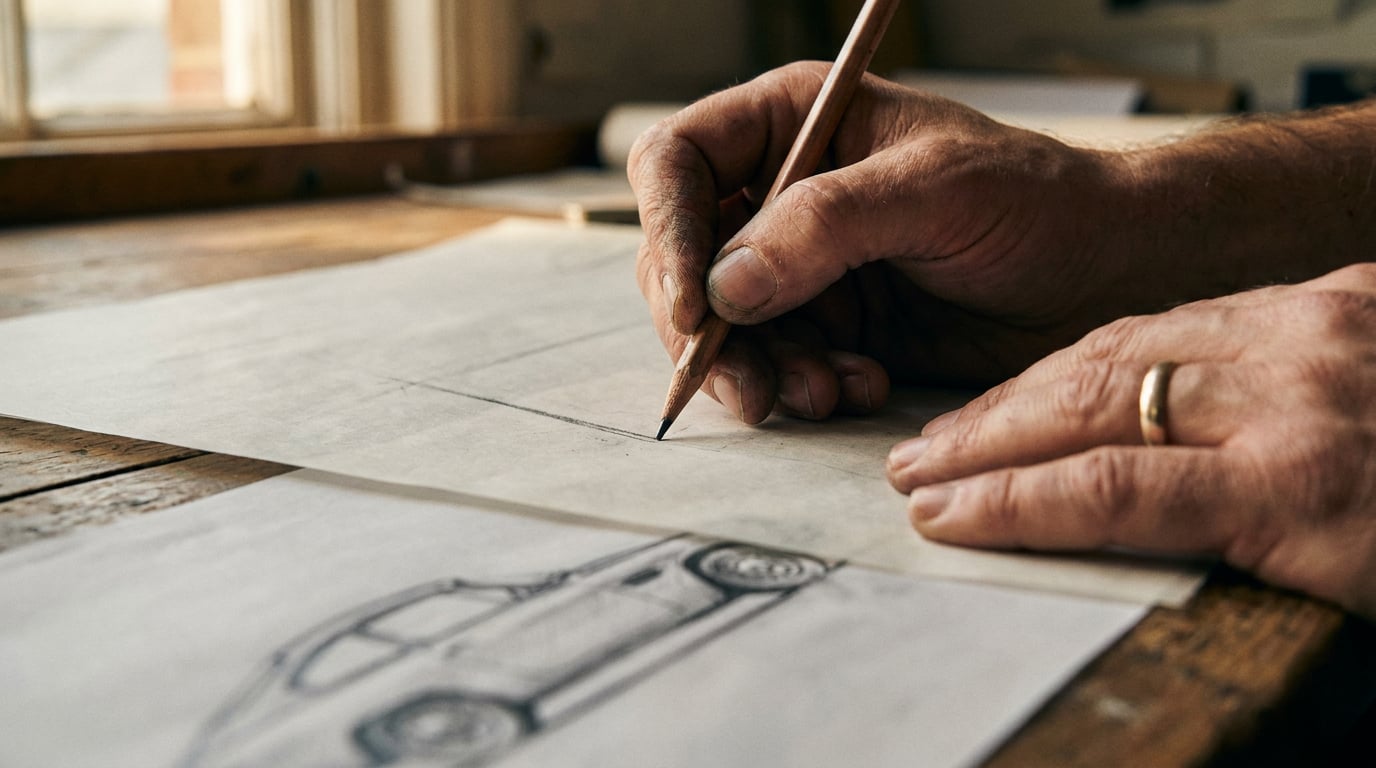
AI Automotive Design Workflow: Sketch to Turntable Render in Stensyl.
Chain Stensyl's image, 3D, and scene tools to take a rough vehicle sketch through to a presentation-ready turntable render.
What This Workflow Covers (and What You Need Before You Start)

This guide walks through a complete automotive design workflow inside Stensyl, from a hand-drawn sketch reference through image generation, 3D model creation, scene composition, and a final turntable render sequence. Every stage uses a real Stensyl surface. The goal at the end is a set of photorealistic, multi-angle renders and a presentation-ready turntable that can go straight to a client review, a concept reel, or a campaign pre-viz board.
The workflow uses four surfaces in sequence: Image (/generate/image) for generating a resolved reference render from your sketch, 3D (/studio) for model generation and colourway testing, Scene Composer (/studio/compose) for lighting and camera placement, and Boards (/boards) to hold references and collect rendered frames as the project builds. One important flag before you start: Scene Composer is desktop-only. If you are working from a tablet or a shared machine, plan your session so that the composition and render steps happen on a desktop browser.
Before opening Stensyl, you need three things ready: a clean sketch or scanned linework with a legible silhouette, a clear sense of the vehicle's design language (roofline radius, shoulder line character, wheel arch treatment), and a decision on which angles matter for your final deliverable. The workflow assumes you are aiming for a four-angle turntable: front three-quarter, direct side elevation, rear three-quarter, and a detail crop.
Credit usage across the pipeline
Each generation step consumes credits. The lightest steps are image generation and retexture. The heaviest are 3D model generation and Scene Composer photorealistic renders. A Lite plan (1,000 credits) gives enough headroom to explore one vehicle concept through to a basic turntable. A Pro plan (6,000 credits) supports multiple concepts with colourway variants across a full project. The practical advice throughout this guide is to iterate hard at the cheaper upstream stages and treat 3D mesh generation and final render passes as fixed costs once the brief is clear.
Fix proportion and silhouette in the image generation stage. Every unresolved line in Stage 1 compounds into geometry you cannot easily correct once the mesh exists.
Stage 1: Generate a Clean Orthographic Reference from Your Sketch

Open the Image surface (/generate/image) and upload your sketch as an image reference. The job of this stage is to translate rough linework into a resolved, photorealistic view that you can trust as a 3D source. Kia's design team uses a similar upstream approach with their internal generative AI tool: designers upload a sketch, apply design-language keywords, and produce multiple variations to refine against the original intent before anything moves into three dimensions. The principle maps directly here.
Prompt strategy for automotive reference images
Vague prompts produce misread silhouettes. Be explicit about three things in every prompt:
- View angle: "side elevation, left three-quarter" gives the model a spatial anchor. If you write only "sports car", you will get whatever viewpoint the model prefers, which may not match your sketch geometry.
- Surface language: name the specific details that define your design — "flush door handles", "continuous shoulder crease from headlamp to tail", "fast-back roofline". These are the details that will either survive or disappear in the 3D step.
- Lighting environment: specify "overcast studio, soft diffuse light, no hard shadows obscuring body panels". Hard directional light at this stage hides the very surfaces you need to read clearly before committing to 3D.
Run two or three variations before moving on. Small differences in panel gap width, wheel arch proportion, and greenhouse height will compound significantly once a mesh is generated from this reference. A wheel arch that sits two percent too high in a 2D render becomes a structural correction in a 3D viewport, which is a much heavier intervention. Tools like Vizcom and Visualizee, both used widely in transportation design studios, consistently advise the same upstream discipline: get proportion right in the flat image before the form becomes volumetric.
Save to Boards before moving forward
Once you have a reference image you trust, save it to a Board (/boards). Pin your original sketch photograph and any secondary reference imagery alongside it. Boards functions as a single visual brief that travels with the project. When you return to Stage 1 for a revised form or a second concept, the original reference set is there as a baseline, not buried in a downloads folder.
The temptation after a strong first render is to move immediately into 3D. Spend ten minutes on a second pass instead. A tighter side elevation now saves significant rework after the mesh already exists.
Stage 2: Generate the 3D Model and Retexture for Colourway Testing

Take the resolved reference image into the 3D surface (/studio) and use it as the source for model generation. AI tools in current automotive workflows, including those described in transportation industry reporting on platforms like Vizcom, can now infer a three-dimensional form from a single well-resolved image, compressing what used to be days of clay massing into a concept-stage asset available in hours. The Stensyl 3D surface works within this same category of image-to-3D generation.
The critical framing here: the mesh you are generating is a presentation asset, not engineering geometry. Design research on AI-assisted automotive concept workflows consistently distinguishes between AI-generated presentation geometry, suited to early form-finding and client visualisation, and Class-A surface modelling or CAD, which remains the domain of traditional tools at the engineering stage. Generate accordingly. Select a mesh output suited to clean rendering, not watertight manufacturing tolerances.
Assessing mesh quality before Scene Composer
Before moving downstream, assess the mesh in the 3D viewport. Check three areas specifically:
- Roofline: does it hold the radius from your reference, or has it flattened or over-curved?
- Greenhouse: are the A-pillar and C-pillar angles close to your sketch intent?
- Wheel arches: are they symmetric and correctly proportioned relative to overall body length?
If any of these read incorrectly, the right fix is to return to Stage 1 with a tighter prompt and generate a corrected reference image, then regenerate the mesh from that. Attempting to correct silhouette errors by editing geometry in the viewport is a losing approach at this stage of the pipeline.
Retexture for colourway exploration
Once you approve the base mesh, use the retexture tool to run colourway options. Automotive presentation work at the concept stage typically requires three to five colour directions to be reviewed before a single route is approved. Research involving GM's design processes shows that generative models can explore colour and styling spaces meaningfully while maintaining aesthetic coherence, which validates treating AI-generated colourways as serious pre-selection material, not placeholder moodboard filler.
Retexture is significantly cheaper in credits than regenerating the mesh. Use it freely for colourway exploration. Run graphite metallic, pearl white, and a saturated accent option at minimum. Keep a note of which texture pass is active before you carry the model into Scene Composer. If you want renders at multiple colourways, complete the full Scene Composer and render pass for one finish before switching to the next.
Retexture is cheap. Mesh regeneration is not. Lock the form, then explore colour as many times as the brief requires.
Stage 3: Compose and Light the Scene in Scene Composer
Open Scene Composer (/studio/compose) on a desktop browser. This is where presentation quality is made or lost. The 3D mesh and retextured colourway carry across without a manual export step, which removes a friction point that slows down equivalent workflows built across separate tools.
Positioning for turntable angles
Use the gizmo controls to position the vehicle at each of the four turntable angles in sequence. The standard set for automotive concept presentation is:
- Front three-quarter (driver's side, approximately 45 degrees)
- Direct side elevation
- Rear three-quarter
- A detail crop, typically the shoulder line, headlamp graphic, or wheel arch treatment
Some automotive design teams using tools like Kling for motion generation use a similar structured approach: fix a side-view render first, then generate multi-angle clips or extract keyframes from a short rotation sequence. The Stensyl approach is more controlled because Scene Composer locks each angle deliberately rather than inferring intermediate positions from a video model.
Environment and lighting selection
Select a 3D World as the backdrop. For design review renders, a neutral studio environment or a simple outdoor location with a flat, low horizon reads most clearly. Avoid environments where strong ground-plane reflections compete with the vehicle's lower body panels. The lower panels carry surface language that needs to read unobstructed for a client or creative director to assess the design intent.
Lighting setup matters more than backdrop complexity. A two or three-light arrangement that places a key light on the shoulder highlight and a fill underneath the body gives the form the clarity needed for design evaluation. The shoulder crease, door panel character line, and front fascia proportions all depend on this separation. A high-contrast dramatic scene may look compelling in isolation but will obscure form detail in a comparative colourway review.
Visualizee, a tool marketed specifically to automotive designers, stresses the same principle: specify lighting and environment carefully because they directly determine whether a render communicates design intent or just looks photogenic. Neutral and legible beats dramatic and ambiguous at this stage.
Render each angle to a photorealistic image output. The Scene Composer render is the deliverable, not a screengrab from the viewport. Collect all rendered angles directly into Boards. Lay them out in turntable sequence so the read is clear before you carry the frames into the assembly step.
Stage 3 lighting is the second highest-value iteration point in the entire pipeline. One extra pass on the lighting setup before committing to a full render sequence saves render credits and produces a fundamentally better final deliverable.
Stage 4: Assemble the Turntable in Film or Editing
With rendered frames collected in Boards, two assembly routes are available depending on the final deliverable format.
Editing surface: static frame sequences and client presentations
Use the Editing surface (/editing) if the deliverable is a sequenced frame presentation: a timed slideshow of turntable angles, a colourway comparison cut, or a short clip for a client review PDF. Editing is a desktop-only surface with a video timeline, caption tools using Whisper speech-to-text in karaoke mode, and baked MP4 export. Sequence the turntable frames, set consistent timing between angles, and add captions naming each colourway or calling out a key design feature. Captions can be baked into the MP4 so they survive the export.
Film surface: motion and concept reels
Use the Film surface (/film) if the deliverable is a more polished concept reel or a presentation where camera movement and transition pacing matter. Film uses a multi-scene structure where each turntable angle becomes a distinct shot. This parallels the approach used in game development and film pre-production, where AI-generated vehicles are treated as hero props, with each angle staged as a deliberate camera position rather than a continuous rotation.
Marketing teams and automotive agencies increasingly use AI renders for campaign pre-viz and "what-if" variant exploration well before committing to a full photo shoot. Film output from this workflow is directly usable in that context: a structured concept reel showing form, colourways, and angle coverage gives a creative director enough to validate a direction without physical production.
Colourway comparison sequences
For multiple colourways, the most efficient assembly is a direct comparison sequence: run the full turntable in the first colour, cut to the same sequence in the second colour, and use a caption overlay to name each finish. This format gives a client a side-by-side read of both options without requiring separate presentation files. Export resolution should match the delivery context. A client email attachment needs a smaller file than a conference display or a social post to the brand's automotive channel.
| Deliverable | Surface | Key output |
|---|---|---|
| Client review clip | Editing (/editing) |
MP4 with baked captions, consistent frame timing |
| Concept reel / campaign pre-viz | Film (/film) |
Multi-scene reel, controlled camera transitions |
| Colourway comparison | Editing or Film | Sequential turntable per finish, caption overlays |
| Social or brand channel post | Editing → Marketing (/marketing-studio) |
Cropped and captioned for platform format |
Where to Iterate and Where to Stop
Two stages in this workflow return the highest value per credit spent on iteration: Stage 1 image generation, before any 3D is committed, and Stage 3 lighting in Scene Composer, before render passes are running at volume. Everything in between, particularly the 3D mesh generation, should be treated as a fixed cost once the form is approved. Re-entering the workflow for a revised colourway or a minor form update means going back to Stage 2 retexture, not regenerating from the sketch.
Using Ray as a creative director within the workflow
If you are uncertain which image generation model will handle your sketch's structural detail most accurately, ask Ray (/ray) before committing to a generation run. Ray has access to platform model information and can give a direct recommendation based on the type of reference image you are working from. It is also the right tool to use when a 3D output does not match the reference and you cannot identify whether the issue is in the prompt, the source image quality, or the model choice.
Creative teams working in automotive design and marketing already use general-purpose LLM assistants to help write and iterate prompts for image and video generation tools. Ray plays that role within Stensyl, without requiring a separate tab or tool. Treat it as a project-aware prompt coach and model selector, not just a general search interface.
Credit planning across the pipeline
The table below gives a practical guide to plan selection based on project scope. These are Stensyl-specific tier figures, not industry-wide standards.
| Plan | Monthly credits | Suitable for |
|---|---|---|
| Lite | 1,000 | Single vehicle concept, one colourway, basic turntable |
| Starter | 2,500 | One vehicle concept with three colourways, full turntable render set |
| Pro | 6,000 | Multiple concepts, colourway variants, comparative reels across a project |
| Studio | 12,500 | High-volume concept work, parallel projects, team-shared asset libraries |
The workflow is repeatable by design. Once Stage 3 lighting and camera positions are established for a vehicle, a revised colourway or a minor form update re-enters at Stage 2 retexture. The scene setup, lighting rig, and render angles are already defined. A new colour pass runs through retexture, back into the same Scene Composer setup, and out to the same Editing or Film assembly. The structural investment in the workflow pays back across every iteration that follows.
The sketch-to-turntable pipeline described here is not a shortcut around design thinking. It is a faster surface between design intent and a visual that a client, creative director, or marketing team can actually evaluate. The thinking still has to happen at the sketch.
Academic and industry research on integrating generative AI into automotive concept workflows, including work drawing on insights from studios like GM, consistently positions AI as most valuable at early visualisation and variant exploration stages. The Stensyl pipeline is built exactly there: fast enough to support decision-making in early design reviews, resolved enough to carry into pre-viz and campaign material, and structured so that every stage feeds cleanly into the next without manual file management breaking the momentum.
```Keep reading.


Try Stensyl for yourself
Image, video, 3D, chat, and document drafting. Every AI model, one studio. Plans from £10/month.