AI Social Carousel Workflow for Content Creators in Stensyl.
Build scroll-stopping social carousels from brief to export using Stensyl's chained surfaces. Here's the exact workflow.
Why Most Carousel Workflows Break at the Same Point

The average content creator building a carousel today has five browser tabs open and none of them talking to each other. There's the research tab, the LLM tab for copy, the design app, a resize tool for platform dimensions, and a scheduler. Each handoff is a small piece of friction. Across a week of content production, that friction becomes the bottleneck.
Independent workflow guides consistently describe the same pattern: use an LLM such as Claude, ChatGPT, or Gemini for ideation and structure, move the output into a design tool like Canva or Figma, resize for each platform, then schedule via Buffer, Later, or a native platform tool. Automated agent pipelines like n8n with Blotato or dedicated tools like PostNitro reduce some of that manual handoff, but they still treat research, copy, design, and publishing as separate stages connected by integrations rather than a single coherent project.
The problem is not a lack of AI tools. The problem is translation: taking a well-structured idea and turning it into polished, on-brand slides without rebuilding the context from scratch in every new application.
This friction is not specific to one type of creator. A marketing professional producing conversion carousels for a product launch, a graphic designer building an educational series for LinkedIn, and a content creator posting weekly audience-growth carousels all hit the same wall. The goal differs. The tool-hopping does not.
The real bottleneck is not ideation. It is the gap between a good idea and a consistently branded, platform-ready slide deck — and most workflows make you cross that gap manually, every time.
Stensyl collapses this by chaining Research, Write, Image generation, Graphics, and Marketing Studio into a single project. Your audience research, brand identity, copy drafts, generated visuals, and published posts are all connected from the first brief to the final export. Nothing lives in a separate tab. Nothing has to be re-explained to the next tool in the sequence.
Most "AI carousel workflows" automate individual steps but leave you bridging five disconnected surfaces manually. A project-based approach eliminates the translation tax at every handoff.
Step 1: Research and Brief Using Research and Ray

Every strong carousel starts with specific intelligence, not general assumptions. Before you write a single slide, open Research (/research) to pull platform trends, audience language, and competitor context. The surface is backed by Perplexity, so results come with sources you can verify and paste directly into your brief. No switching to a browser tab, no copy-pasting from a search engine.
For a product designer announcing a new colour range, Research might surface how similar launches have been framed on Instagram over the past quarter, what language the target audience uses when talking about colour, and which hook structures are getting traction. For a game development studio preparing a patch-note carousel, Research pulls in community language and platform-specific framing without the creator having to trawl Reddit and Discord manually.
Once you have that intelligence, open Ray (/ray). Ray functions as your creative director for the project. Describe your carousel goal, your target audience, and the platform you're building for, then ask Ray to structure a slide-by-slide brief with hook logic, body slide hierarchy, and a closing CTA.
Ray runs on Claude Sonnet 4.6 or Claude Opus 4.8 under the hood, with web search built in. These sit within the Claude 3.x family and its successors: models known for brand-safe language, style consistency, and the ability to hold detailed project context across a conversation. For a product designer's colour-range carousel, Ray will typically suggest opening with the problem the new colour solves before revealing the palette across slides two and three. That kind of structural thinking is where it earns its place.
When the brief is solid, save it as a Project (/projects). This is where Stensyl's single-project model starts paying off. Your Research outputs, Ray's brief, and the brand identity you've set for the client or campaign are now linked. Every asset you generate next inherits that context automatically, rather than you having to paste it into every new tool window.
Saving your brief inside a Project means your brand identity and research outputs travel with every asset you generate next. Nothing has to be re-explained mid-workflow.
Step 2: Write Slide Copy Using Write with the Right Model
With the Ray brief in hand, open Write (/write). This is where the actual slide copy gets drafted, and the model you pick here matters more than most guides acknowledge.
Stensyl's Write surface offers six models, all available on every plan regardless of tier:
| Model | Provider | Best used for |
|---|---|---|
| Claude Sonnet 4.6 | Anthropic | Consistent brand voice, nuanced tone matching |
| Claude Opus 4.8 | Anthropic | Complex briefs, multi-slide narrative structure |
| GPT-5.5 | OpenAI | Punchy, conversion-led copy and short-form hooks |
| GPT-5.4 mini | OpenAI | Fast iteration, bulk variant drafting |
| Gemini Pro | Structured informational content, detailed body slides | |
| Gemini Flash | High-volume generation, rapid iteration across variants |
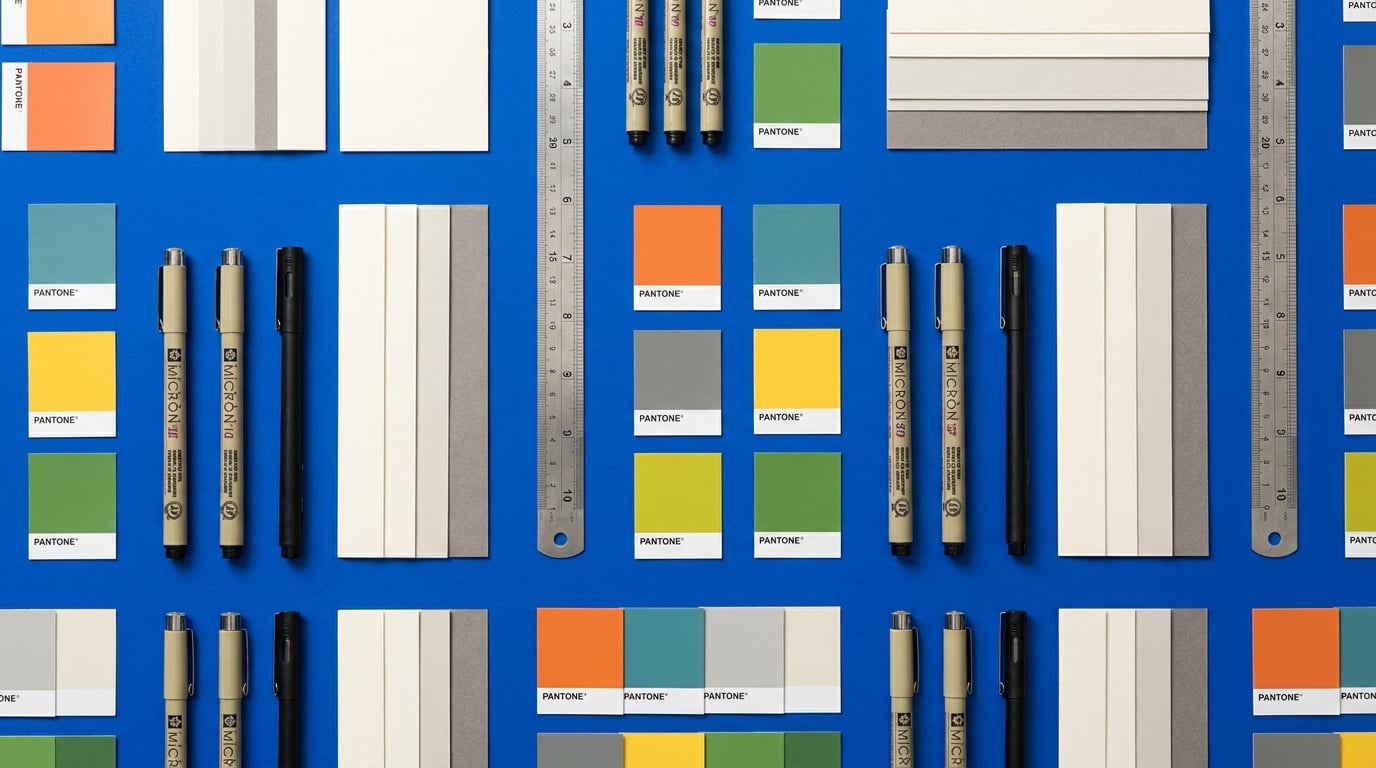
Note: Claude Sonnet 4.6, Claude Opus 4.8, and GPT-5.5 are Stensyl's internal model naming. Claude 3.5 Sonnet and Claude 3 Opus are Anthropic's publicly documented flagship models; GPT-5.5 represents an OpenAI-class model available through the platform. Treat these as Stensyl's abstraction layer rather than externally verifiable release labels.
For most carousel projects, the workflow inside Write is straightforward. Paste your Ray brief and prompt for each slide as a separate output block: hook line, body copy, CTA. Keep body copy under 40 words per slide. That constraint matters because Instagram carousels render at 1080×1350px in portrait format and 1080×1080px square, and text-heavy slides lose readers fast. The brief you built in Ray already accounts for this; Write just executes it.
Where the model choice becomes a genuine creative decision: a marketing and advertising agency testing three hook variants for a client review will reach for Gemini Flash for speed across all three drafts, then switch to Claude Opus 4.8 to refine the winning variant into the brand's exact register. A game development studio posting a patch-note carousel benefits from GPT-5.5's directness: patch notes are functional information, and punchy, hierarchical copy keeps the audience engaged past slide two.
The practical point here is that most competing tools treat model choice as a pricing decision. Gemini Flash-class models are cheaper to run at volume, so tools restrict the better models to higher tiers. Stensyl makes all six models available on every plan, including the Free tier's 150 one-time credits. The choice is creative, not financial.
Structure your Write output as individually labelled blocks. Slide 1 hook. Slide 2 body. Slide 3 body. Through to your CTA slide. The labelling pays off in the next step when you move to Graphics and need to drop copy directly into layout without reorganising a single document of mixed content.
Step 3: Generate Visuals Using Image and Graphics

Slide copy done. Now the carousel needs a visual language. Open Image (/generate/image) to generate the hero imagery for your cover slide and any supporting visuals.
Stensyl's image generation surface runs across 20-plus models, which gives you genuine aesthetic range. Models from the Flux family (from Black Forest Labs) and Ideogram are well-documented options for poster-style and typographic social graphics, both demonstrated in creator tooling lists as reliable choices for bold, platform-native imagery. For a product designer's colour-range carousel, you can prompt for photorealistic product renders with clean, neutral backgrounds that frame the palette as the hero. For a game developer's character announcement, illustrated or stylised imagery matches the audience's aesthetic expectations. These capabilities are demonstrated in community examples and vendor demos rather than independently benchmarked specifications, but the output range is genuine.
The discipline shapes the visual approach. A motion design studio building a process carousel might generate cinematic stills that suggest movement. An exhibition designer creating a behind-the-scenes series might use mood imagery showing spatial scale and light. The model choice within Image determines how far the generated output can travel before it needs adjustment.
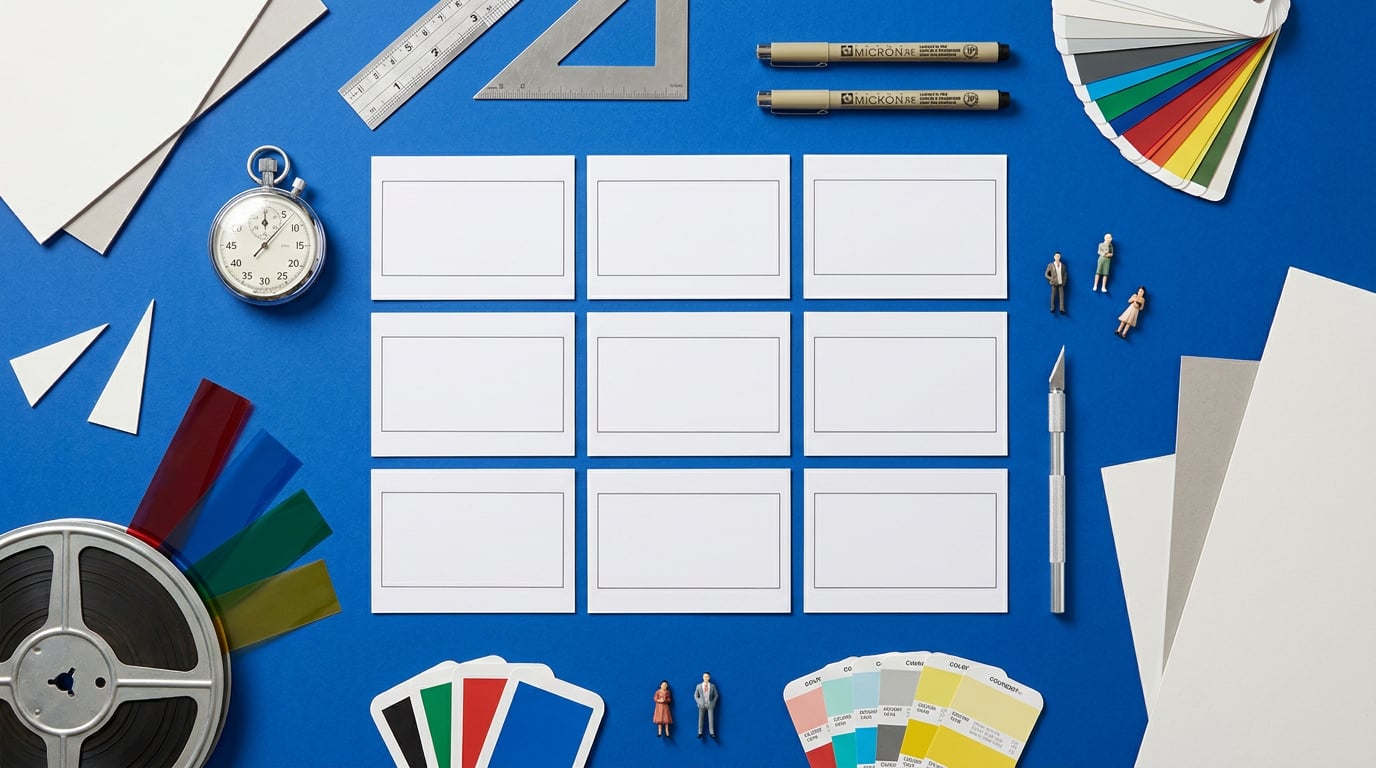
Once you have hero imagery, move to Graphics (/graphics). This is where the actual slide layouts are built. Graphics handles vector and graphic design generation, so you can produce slide templates with consistent type treatment, colour systems, and compositional logic across the full carousel. A seven-slide carousel with a hook, five content slides, and a CTA needs consistent visual framing or it reads as assembled rather than designed. Graphics handles that consistency without you manually matching hex values and type sizes across individual frames.
Before committing to final layouts, use Boards (/boards) to collect reference imagery and group your generated frames into a visual sequence. The surface merges moodboarding and storyboarding into one canvas, so you can place your cover slide next to the CTA slide and assess the visual arc of the full carousel in a single view. This is the moment to catch inconsistencies in tone or colour before they make it into the final export.
Keep every generated image inside the Project. When a collaborator or client reviews the work, they see assets in context, not a folder of loose PNGs with filenames like export_final_v3_USETHS.png.
The single biggest time-saving in a carousel workflow is keeping generated visuals, copy, and brief inside one Project. Every review cycle that doesn't require re-uploading assets into a new tool is time returned to the creative work itself.
Step 4: Assemble and Publish in Marketing Studio
Research done, copy written, visuals generated. Marketing Studio (/marketing-studio) is where the carousel takes its final form.
Switch to Post framing inside the studio. Drop in your Graphics exports and arrange slides in sequence. Your Write copy is already drafted in labelled blocks, so populating each slide's text layer is a direct copy-across rather than a rewrite. The standard best-practice structure applies here: hook slide first, content slides two through six, CTA or summary on the final slide. Instagram supports up to 20 frames per carousel, but independent guides consistently find that seven-slide posts balance engagement and completion rates. The brief Ray built in Step 1 already factored this in.
Marketing Studio includes research-backed copy functionality, so you can sanity-check your hook against what is performing on the target platform without opening a new tab. For a marketing and advertising team presenting carousel options to a client, this is the point where tone variants generated in Write can be compared side by side against platform performance context before the client review meeting.
For a motion design studio posting a process carousel, the static slides are built here. If the same content is being repurposed as a Reel alongside the carousel, the Audio surface (/generate/audio) can produce a short backing track or ambient audio layer for the video version without leaving the project environment. The assets stay connected.
Web publishing, for campaigns that link out to a landing page, requires Pro or Studio tier to go live with a custom domain. Building and previewing a post is open on every plan, including the Free tier. The distinction matters: you are not locked out of the assembly workflow at any tier; the paid step is publishing and hosting, not building.
Speeding Up Repeat Carousels with Canvas
One-off carousels are useful. A repeatable carousel pipeline is a different scale of value entirely. Once the workflow above is proven for a brand or content format, Canvas (/canvas) lets you wire it as a node-based pipeline that runs the same sequence on a new topic input.
The structure mirrors what you did manually. An LlmChatNode takes a topic input and routes it through a prompt sequence that replicates the Write steps: hook line, body copy blocks, CTA. An Image Generate node feeds the visual generation step and passes outputs downstream to Graphics. The pipeline enforces the brief structure so individual posts cannot drift from the established format under time pressure.
The RayNode inside Canvas acts as an agentic planner for multi-post production. Feed it a content calendar and it can sequence briefs, copy generation, and image generation across several carousel posts in a single session. For a social content team managing weekly carousels across multiple client brands, this is the step that converts a solid individual workflow into scalable production. The structure is consistent. The brand identity travels with the project. The creative decisions that were made in the first carousel inform every subsequent one.
Concurrency limits affect how quickly batched Canvas pipelines complete. On Lite (£10/month), one generation runs at a time. Starter (£22/month) allows two concurrent generations. Pro (£42/month) allows three, and Studio (£84/month) allows four. These are Stensyl's product-tier decisions, not industry norms. Teams producing high carousel volumes across multiple brands will notice the difference at higher tiers when batching multiple posts in a single Canvas session. A single creator building one campaign carousel per week will rarely hit the limit at any tier.
The n8n and PostNitro agent pipelines in the wider market solve a similar problem: automate the topic-to-carousel sequence so you're not rebuilding it manually each time. The gap is that those pipelines connect separate tools via integrations. A Canvas pipeline in Stensyl connects surfaces inside the same project graph, so the brand identity set in Projects, the research pulled in Research, and the copy defaults established in Write all feed the automated pipeline without additional configuration. The automation inherits the context, rather than requiring you to re-inject it through webhooks and API calls.
The complete workflow: Research pulls audience intelligence, Ray structures the brief, Write drafts slide copy with the right model for the tone, Image and Graphics produce and assemble the visual layer, Marketing Studio publishes the post, and Canvas makes the whole sequence repeatable. Each surface does a specific job. Nothing is duplicated across tabs. The project holds it all together from first idea to final export.
Keep reading.


Try Stensyl for yourself
Image, video, 3D, chat, and document drafting. Every AI model, one studio. Plans from $11/month.