AI Motion Graphics Workflow: Storyboard to Explainer in Stensyl.
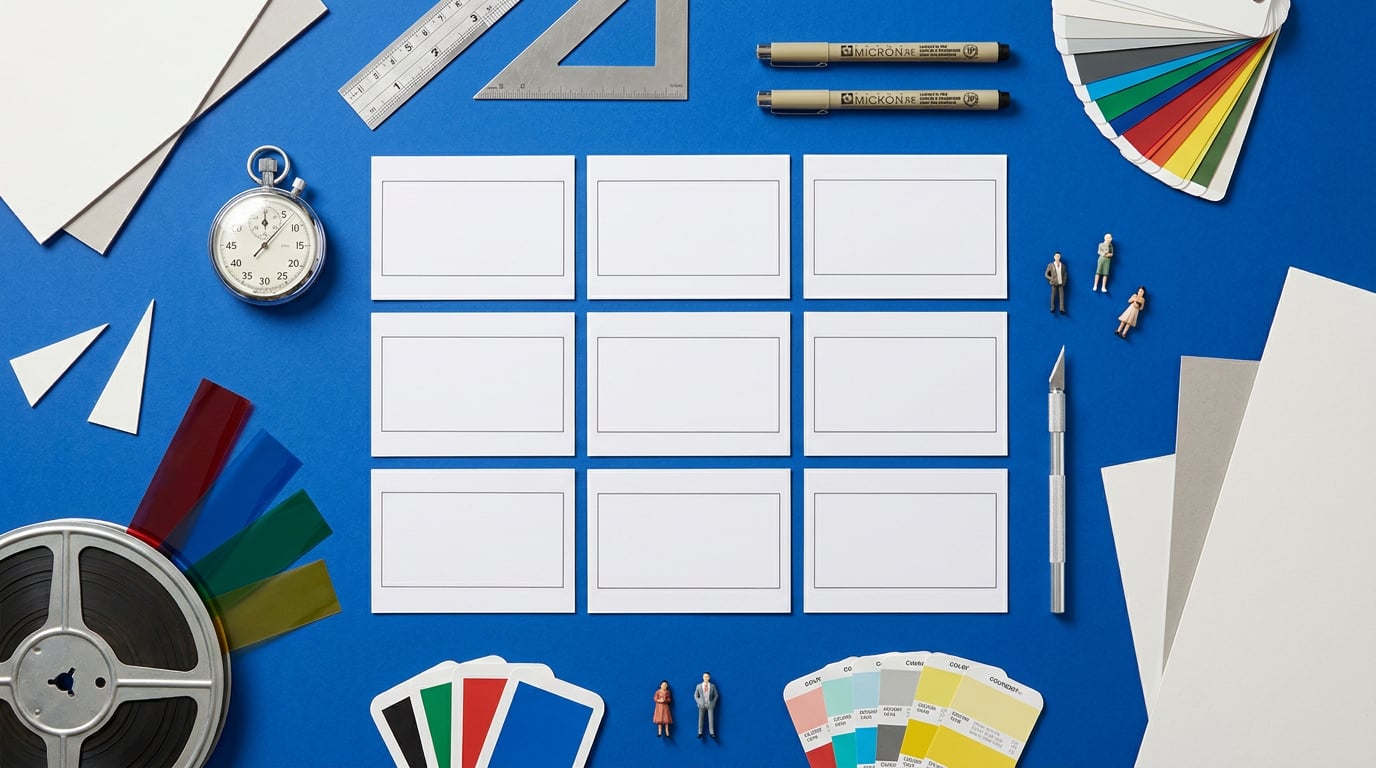
Chain Boards, Graphics, Audio and Motion together to turn a rough concept into a finished animated explainer, without leaving one platform.
Why explainer videos break down between tools
The typical explainer pipeline looks something like this: sketch beats in a doc, design frames in one app, record voiceover in another, animate the sequence in a third tool, then sync everything by hand once it's too late to change much without starting over. Every handoff loses something. Brand colours drift between the design file and the animation file. Timing gets guessed rather than measured, because the animator is working from a script, not from a scored storyboard. By the time a client or stakeholder sees a cut, half the team has forgotten why a scene was paced the way it was.
This isn't a niche problem. A motion designer building a SaaS feature walkthrough hits the same wall as a content team turning out a weekly social product demo: too many tools, not enough shared context. Industry reporting on 2026 motion workflows keeps circling the same friction points, brand consistency breaking down across handoffs, timing alignment guessed rather than locked, and revision overhead ballooning because a change in one tool doesn't propagate anywhere else.
Stensyl's answer is structural rather than clever: Boards, Graphics, Audio and Motion sit inside one credit system, so the brief travels with the project instead of getting re-explained at every handoff.
The real cost of a fragmented explainer pipeline isn't the render time, it's the number of times someone has to re-explain the brief to a tool that doesn't remember it.
Step 1: Build the storyboard in Boards

Boards merges what used to be two separate tools, storyboarding and moodboarding, into one canvas. That matters more than it sounds. Instead of collecting references in one place and blocking out scenes in another, you do both in the same space: pull in a product shot, a UI screenshot, a competitor's ad, and lay your scene-by-scene frames alongside them without switching context.
Frames group into start and end pairs. That's useful immediately for pacing, but it also sets up anything downstream that needs first/last-frame video generation, say a scene that calls for a live-action insert or a 3D beat rather than a flat graphic. You're not just sketching, you're structuring the project for what comes next.
Bring brand references in early rather than late. A product designer building a hardware launch explainer might drop in a CAD render and a spec sheet. A web/UX designer walking through a new onboarding flow pulls in the actual UI screenshots. An exhibition designer pitching a client on a walkthrough sequence brings in a floor plan snippet. All of it sits on the same board, so nobody downstream is guessing what "on-brand" means.
Before a single frame moves into production, use Ray in the project chat to sanity-check pacing. Ray, as the project's creative director, can flag a scene that's overloaded, a beat that's too short for the copy it needs to carry, or a sequence that doesn't build logically toward the call to action. Catching that at the storyboard stage costs nothing. Catching it after animation costs a re-edit.
A storyboard that never gets read by anyone but the animator isn't doing its job. Score it, reference it, and stress-test the pacing before it becomes a timeline.
Step 2: Design the visual system in Graphics
Graphics is where the vector and graphic design layer lives: icons, backgrounds, title cards, lower-thirds, the visual vocabulary of the explainer. The trick that separates a coherent explainer from a patchwork one is building this system once rather than redesigning per-frame.
Lock a palette, an iconography style and a type treatment at the start, then reuse those choices across every scene. A marketing team building a performance ad explainer benefits twice here: once from the consistency, and again because those same assets lift straight into Marketing Studio afterwards for the social cutdowns and carousel variants, without a separate export pass. A game studio putting together a patch-notes explainer gets the same benefit, one HUD-consistent icon set instead of a new one per trailer.
One practical discipline: keep frame dimensions and safe zones consistent with what Motion will need on export. Deciding this at the Graphics stage, rather than discovering a mismatch during assembly, saves a redesign pass later. If the explainer needs to work as both a 16:9 landing-page embed and a 9:16 social cut, plan the safe zones for both now.
| Stage | Old fragmented workflow | Stensyl workflow |
|---|---|---|
| Concept | Docs, separate storyboard app | Boards |
| Visual system | Illustrator, re-exported per scene | Graphics, built once, reused |
| Voice/sound | Separate DAW or TTS tool | Audio |
| Animation | After Effects, synced by hand | Motion |
Step 3: Record voiceover and sound in Audio

Audio covers voice, music, SFX and dubbing from the same surface as the visual work, which means the narration doesn't get built in isolation from the storyboard it's meant to serve. Use TTS for a clean narrator pass when the explainer is voice-over-visuals, or pair with Avatar if the format calls for a talking presenter rather than a disembodied voice, useful for onboarding content or a product walkthrough that benefits from a face.
Score pacing against the storyboard from Boards, not the other way round. This sounds like a small ordering decision but it isn't. If animation timing gets set first and voiceover has to fit around it, the narration ends up rushed or padded. If the storyboard's beats are locked first and the VO is recorded against them, the animation has something real to sync to. Story first, animation to fit, is the direction the whole industry has been moving.
If the explainer needs to travel beyond one market, Avatar's 179-language video translation is worth building into the plan from the start rather than bolting on later. A product launch explainer or an e-learning module built for one language and localised as an afterthought tends to show the seams. Planning for multilingual delivery at the Audio stage means the pacing and on-screen timing already account for it.
Voiceover that's recorded against a locked storyboard sounds different from voiceover recorded against a script alone: the pacing serves the story, not the other way round.
Step 4: Assemble and animate in Motion
Motion is Stensyl's Remotion-based studio, built specifically for exporting clean motion graphics rather than cinematic video. That distinction matters for explainer work. You don't need photorealistic camera moves or filmic lighting here, you need crisp typography, precise timing and reliable export, which is exactly what Motion is built for.
Bring in the Graphics assets and the Audio track, then time the animation beats against the storyboard structure established in Boards. Because the pacing was already scored against real voiceover, not guessed against a script, the sync work is mostly confirmation rather than trial and error.
For explainers with several distinct shots, an automotive spec breakdown moving through exterior, interior and powertrain sections, say, or an e-learning module with five separate scenes, Canvas's Assemble Film node can batch-orchestrate the multi-shot sequence before final export. That's the difference between manually stitching five separate renders and letting the pipeline handle the sequencing.
Export once the timing is locked. Motion is built for that final render step, not for early exploration, the exploration already happened back in Boards and Graphics, where changes cost nothing.
Where Canvas and Ray tighten the whole chain

Canvas lets you wire the entire pipeline as nodes rather than as a sequence of separate app sessions. RayNode plans the sequence agentically. LlmChatNode drafts scene copy, choosing from the six writing models on every plan (GPT-5.6 Sol for flagship reasoning, Terra for balance, Luna for speed, plus Gemini Flash/Pro and Claude Sonnet 5/Opus 4.8) or, on the Canvas Creative Assistant node specifically, Claude Fable 5 for narrative-heavy copy. Image and Video nodes generate the visual assets. Everything feeds into Assemble Film for the final multi-shot orchestration.
Ray's role as project creative director extends into this pipeline too, catching inconsistencies across scenes, a colour that's drifted, a pacing beat that's out of step with the rest of the sequence, before they compound into a full re-edit. Catching a mismatch at the third node is cheap. Catching it after final render isn't.
This node-based version of the workflow suits teams who repeat the same explainer format on a schedule: a monthly product launch cadence, a recurring social series, a quarterly investor update. Once the pipeline is built once, in Canvas, it becomes a template. The next explainer in the series doesn't start from a blank canvas, it starts from a proven node graph with new inputs.
A reusable node pipeline in Canvas turns "make another explainer" from a multi-week rebuild into a matter of swapping inputs into a graph you've already proven works.
Credit cost scales with the models chosen at each step, which matters for budgeting a recurring pipeline. Draft cheaper for early exploration, Gemini Flash for scene copy drafts, a faster image model for rough storyboard frames, then finish on flagship models once the sequence is locked. That keeps the whole workflow affordable inside one plan rather than requiring a separate subscription for every stage.
The takeaway
An explainer video doesn't fall apart because any single tool is weak. It falls apart in the handoffs, the moment a storyboard's intent doesn't survive the trip into the design file, or the animation timing gets set before the voiceover exists to time it against. Building the storyboard in Boards, the visual system in Graphics, the narration in Audio and the final cut in Motion, all inside the same project and the same credit system, means the brief doesn't need re-explaining at every stage. For teams producing explainers on a recurring cadence, wiring that same chain into Canvas turns a one-off production into a pipeline you can run again next month with new inputs and the same proven structure.
Keep reading.


Try Stensyl for yourself
Image, video, 3D, chat, and document drafting. Every AI model, one studio. Plans from $11/month.